IDE Imports Part 3 - Gradle GDK With IntelliJ
IDE Imports Part 3 - Gradle GDK with IntelliJ
This is the third of a series of posts discussing how to get Google Glass Mirror (Java) and GDK projects set up in various IDEs.
One of the most common questions that I get from people during workshops is how to get set up either the Mirror quick start, or the GDK project into Eclipse, Android Studio or IntelliJ.
This post will cover importing a Gradle GDK project into IntelliJ.
0. Clone from GitHub
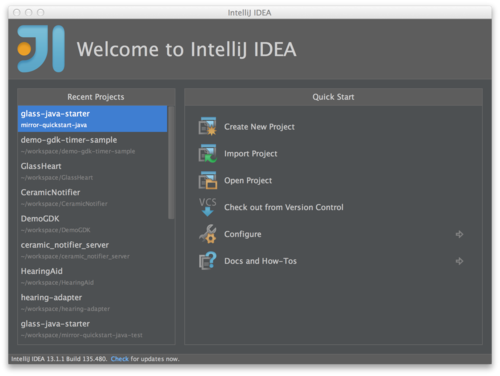
1. Create New Project
In IntelliJ, select Create New Project.
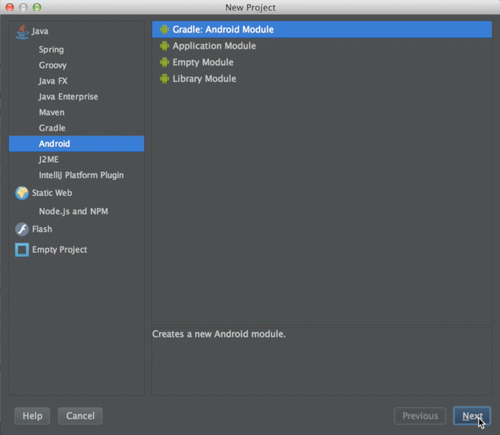
2. Gradle Android Module
3. Set SDK targets
Set all of them to 19, and the ‘Compile with’ to GDK Preview 19.

4. File -> Import Module
Now, we’re going to import the project that we want to work with. Make sure to select the project here.
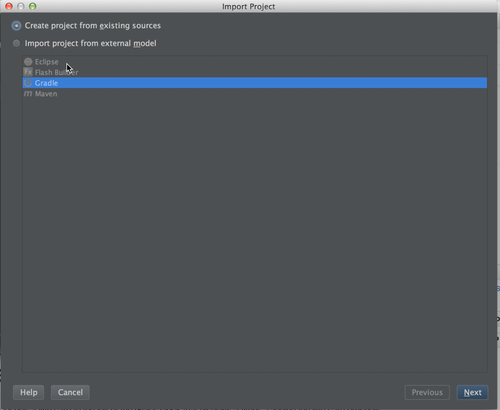
5. Create project from existing sources
Do not import it as an Eclipse, Gradle or Maven project.
6. Hit ‘Next’ a few times
Until it imports.
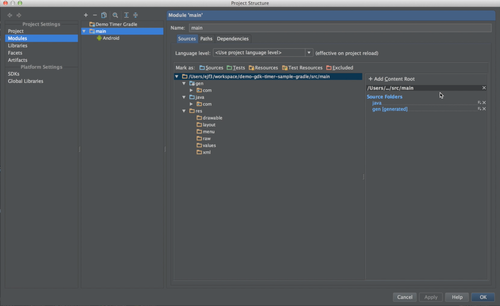
7. Fix project root
- Open the 'Module Settings’ for the imported module
- Go to the 'Modules’ section
- Remove the current 'Content Root’
- Add the correct 'Content Root’, which is the base directory of the module
- Make sure sources and resources are annotated correctly
- Hit 'OK’
8. Move imported module into root of the previously created project
This should fix the build.gradle file, you should see it go from red to white (or black). Now, you can also delete the dummy module that’s in there already.
9. Add compileSdkVersion to build.gradle
The correct value is:
compileSdkVersion "Google Inc.:Glass Development Kit Preview:19"
10. Select GDK 19
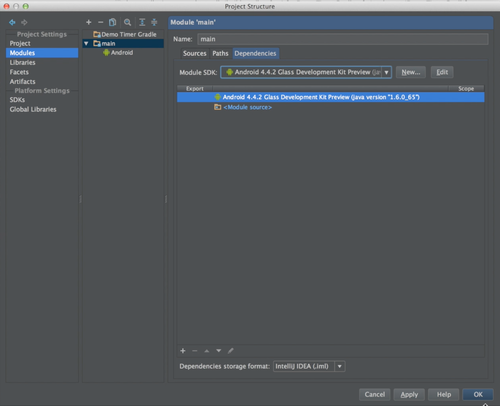
Go back into the Module Settings, then select our imported module, and the 'Dependencies’ tab. From the drop-down, pick GDK 19.
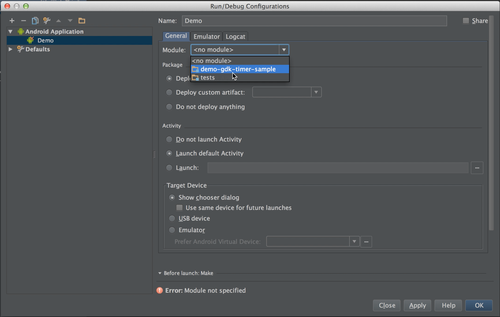
11. Add a Run Configuration
12. Fix the AndroidManifest.xml
Need to have one Activity that is considered the launch Activity, otherwise IntelliJ won’t let you run.
13. Finished!
You’re all done!