Pizza Oven Build
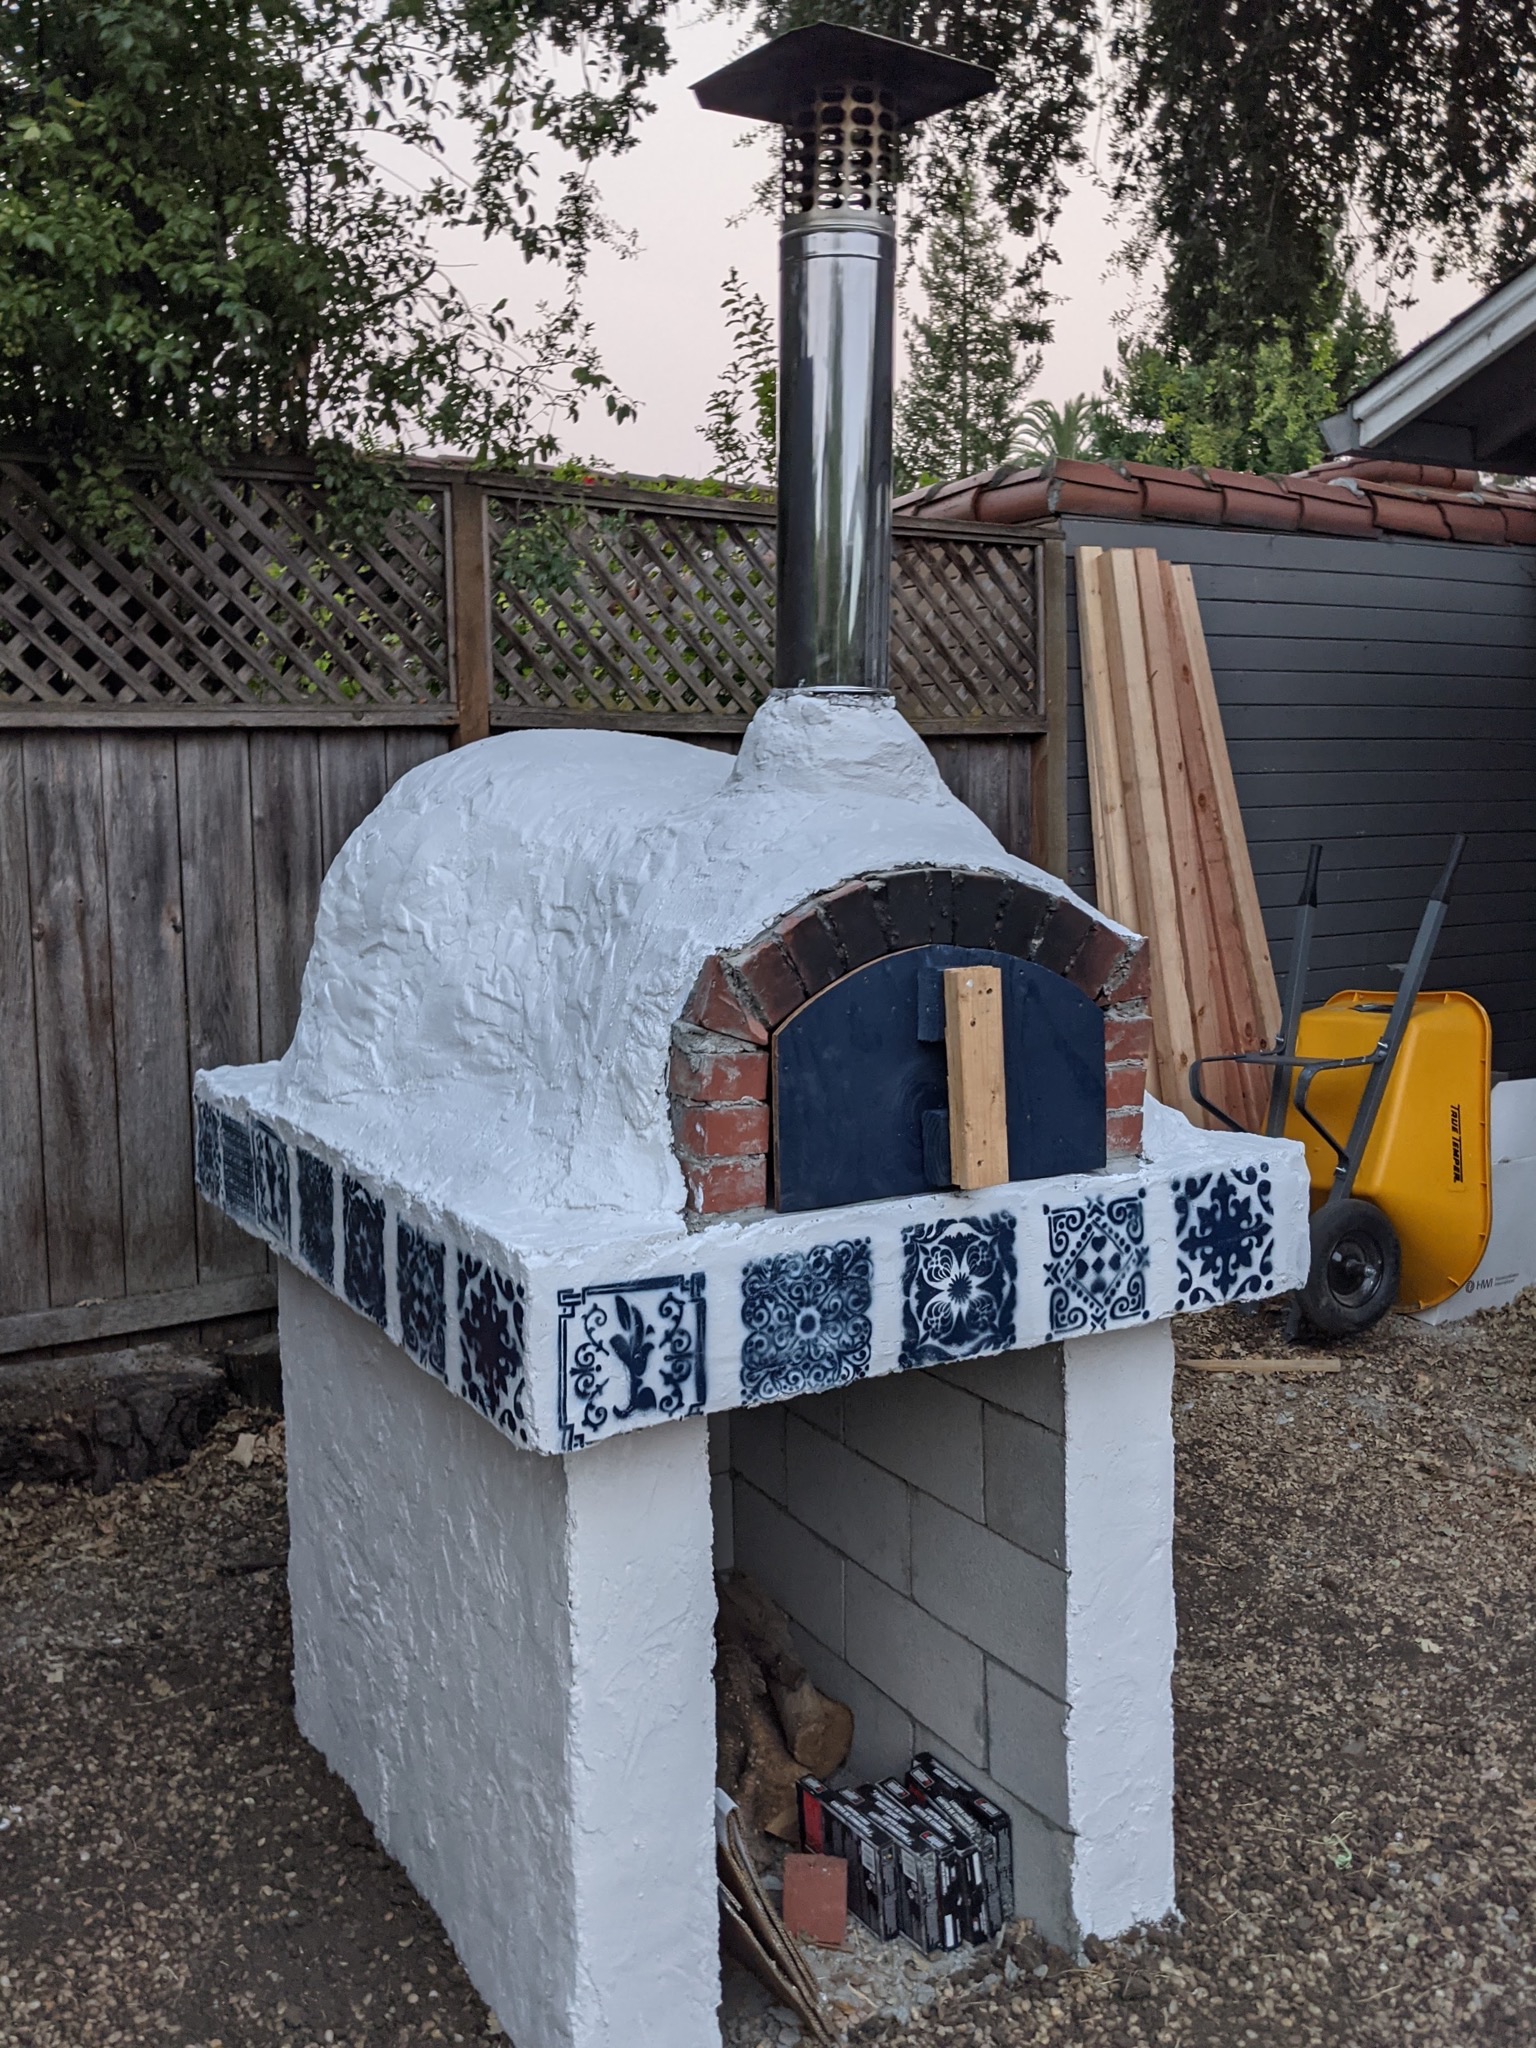
After three and a half months of work, we finally finished our pizza oven! Elizabeth has been painting over the last couple weeks, and put the finishing touches on yesterday. This was a fun, but difficult project, and I’m really happy with the pizza it makes!
I’ve wanted a pizza oven since I visited Pollywogg Holler, when I was attending Alfred University. Pollywogg Holler is a bit hard to describe, but it was a set of hand-built cabins and structures set back a ways in the woods, where you had to follow a path to get there. The path itself was interesting, it was a 5-10 minute walk through the woods, and along the way there were all sorts of art scultures and small structures. The main area had a bar and food area where they served pizza, and they had a wood fired pizza oven. It appeared to have been built by them, and it got me thinking about making my own someday.
15 years later, the pandemic happened, and I found myself with some time on my hands and wanting to find something to do to get outside as a break from the endless video call meetings. I decided to build my own pizza oven.
I started by researching a few different sets of plans and YouTube series on it, and came up with a bunch of ideas. From there, I put together a plan that would take me pretty much through completion, which synthesized ideas from several different sources.
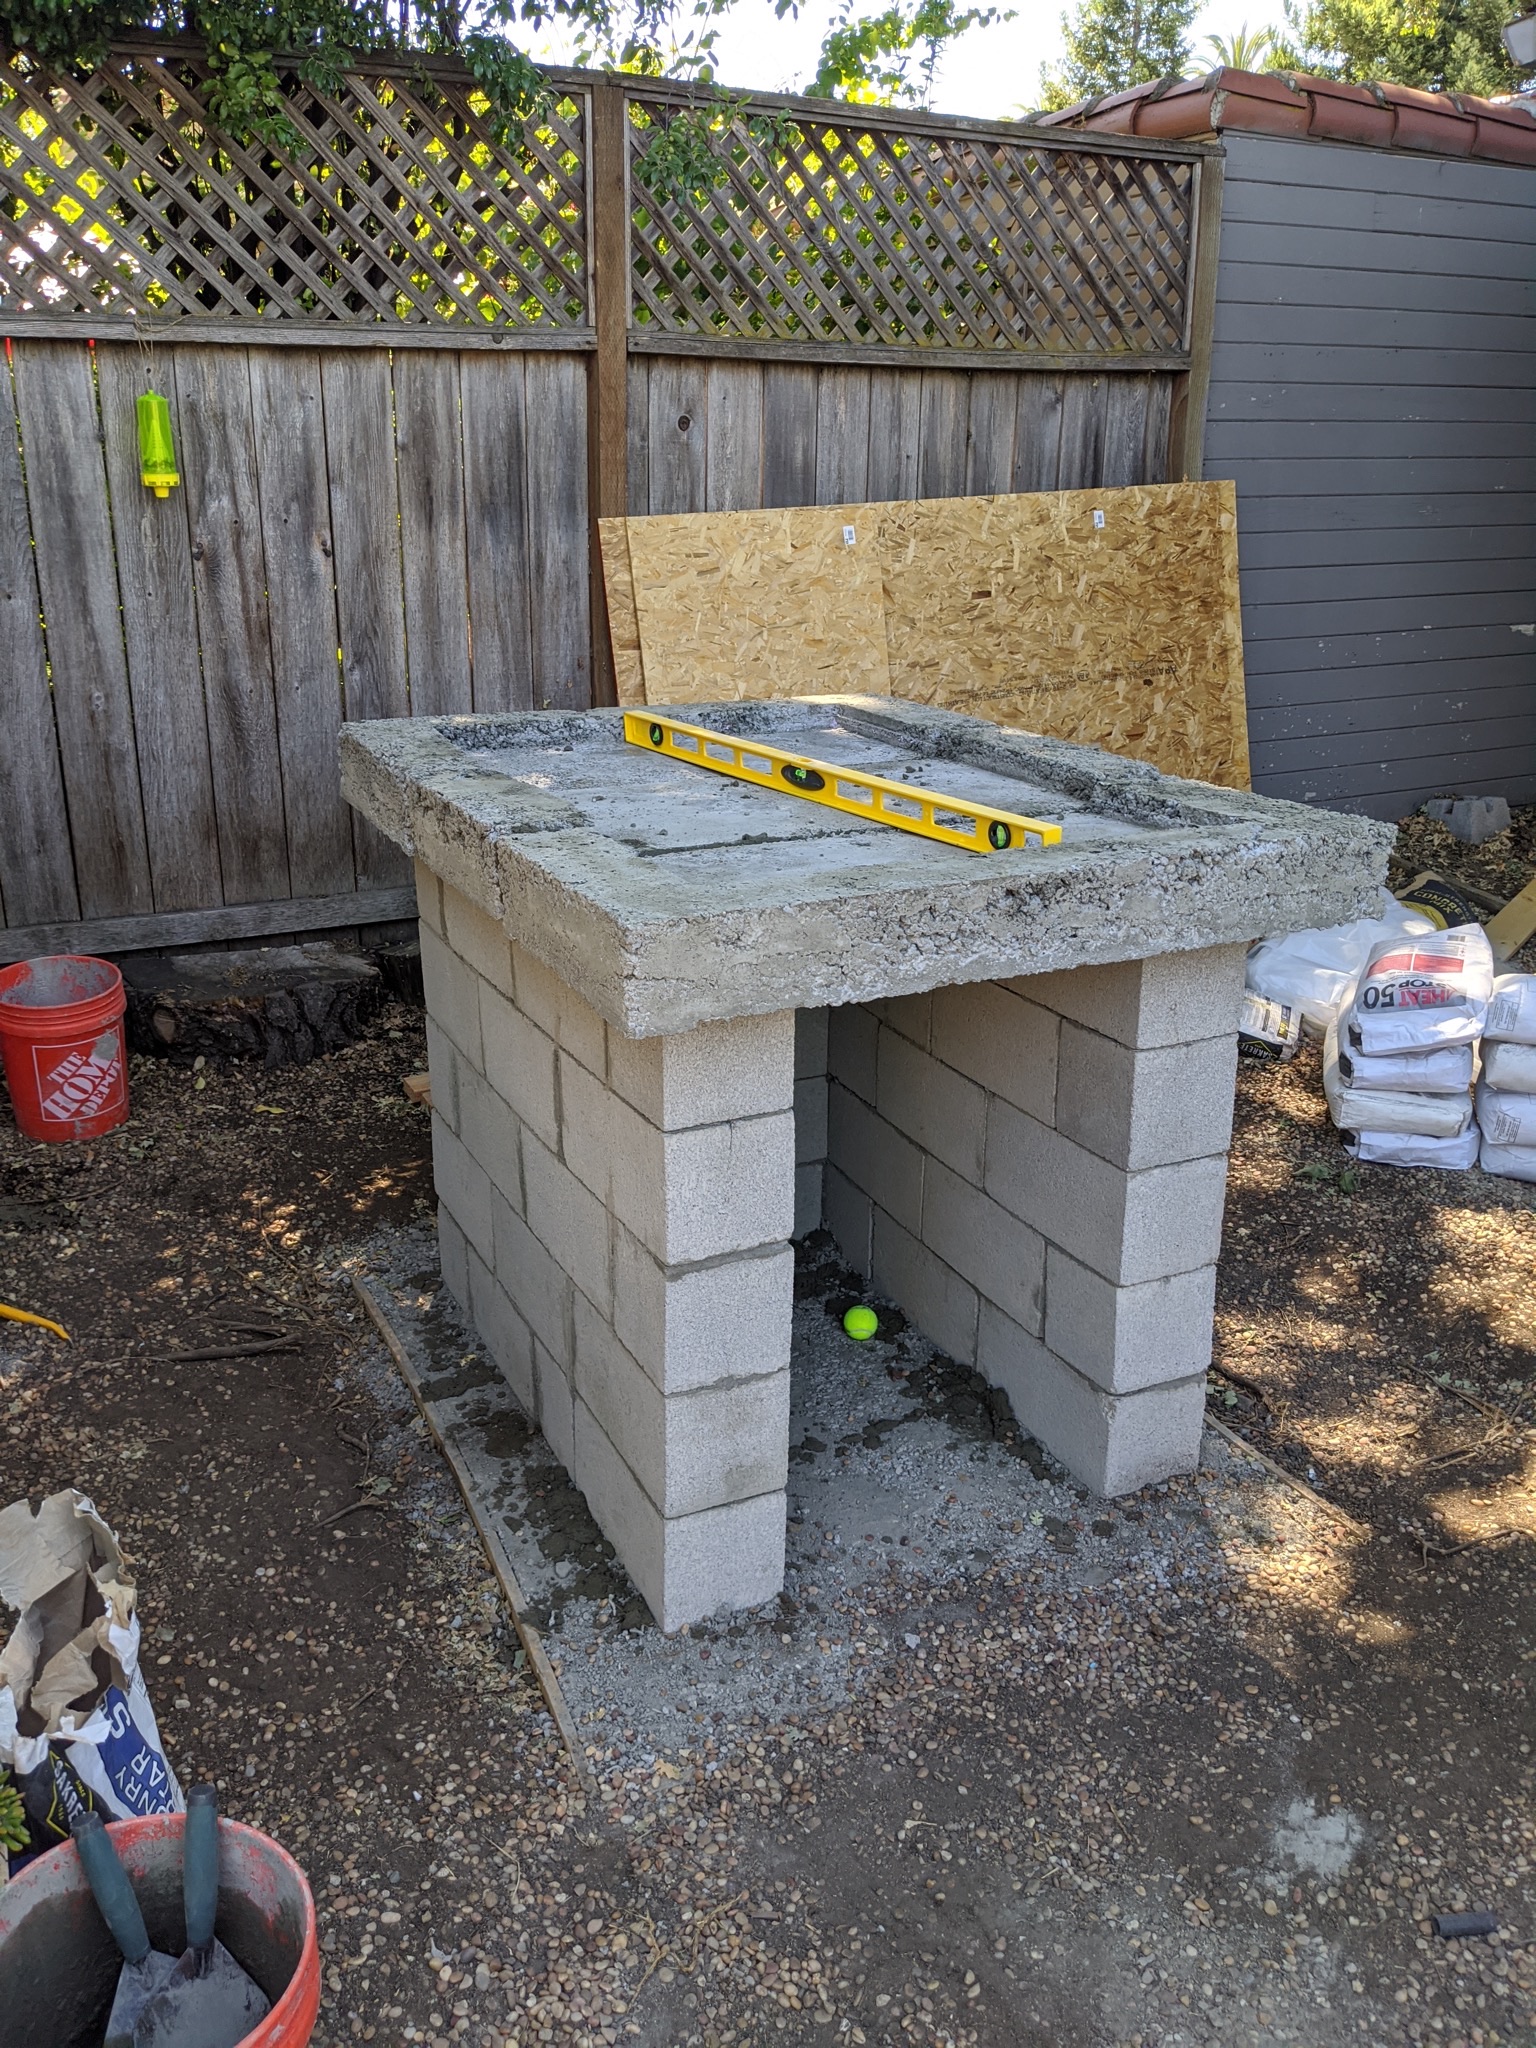
I started by building a base, with a concrete slab reinforced with rebar, and then started building up from there with cinder blocks.
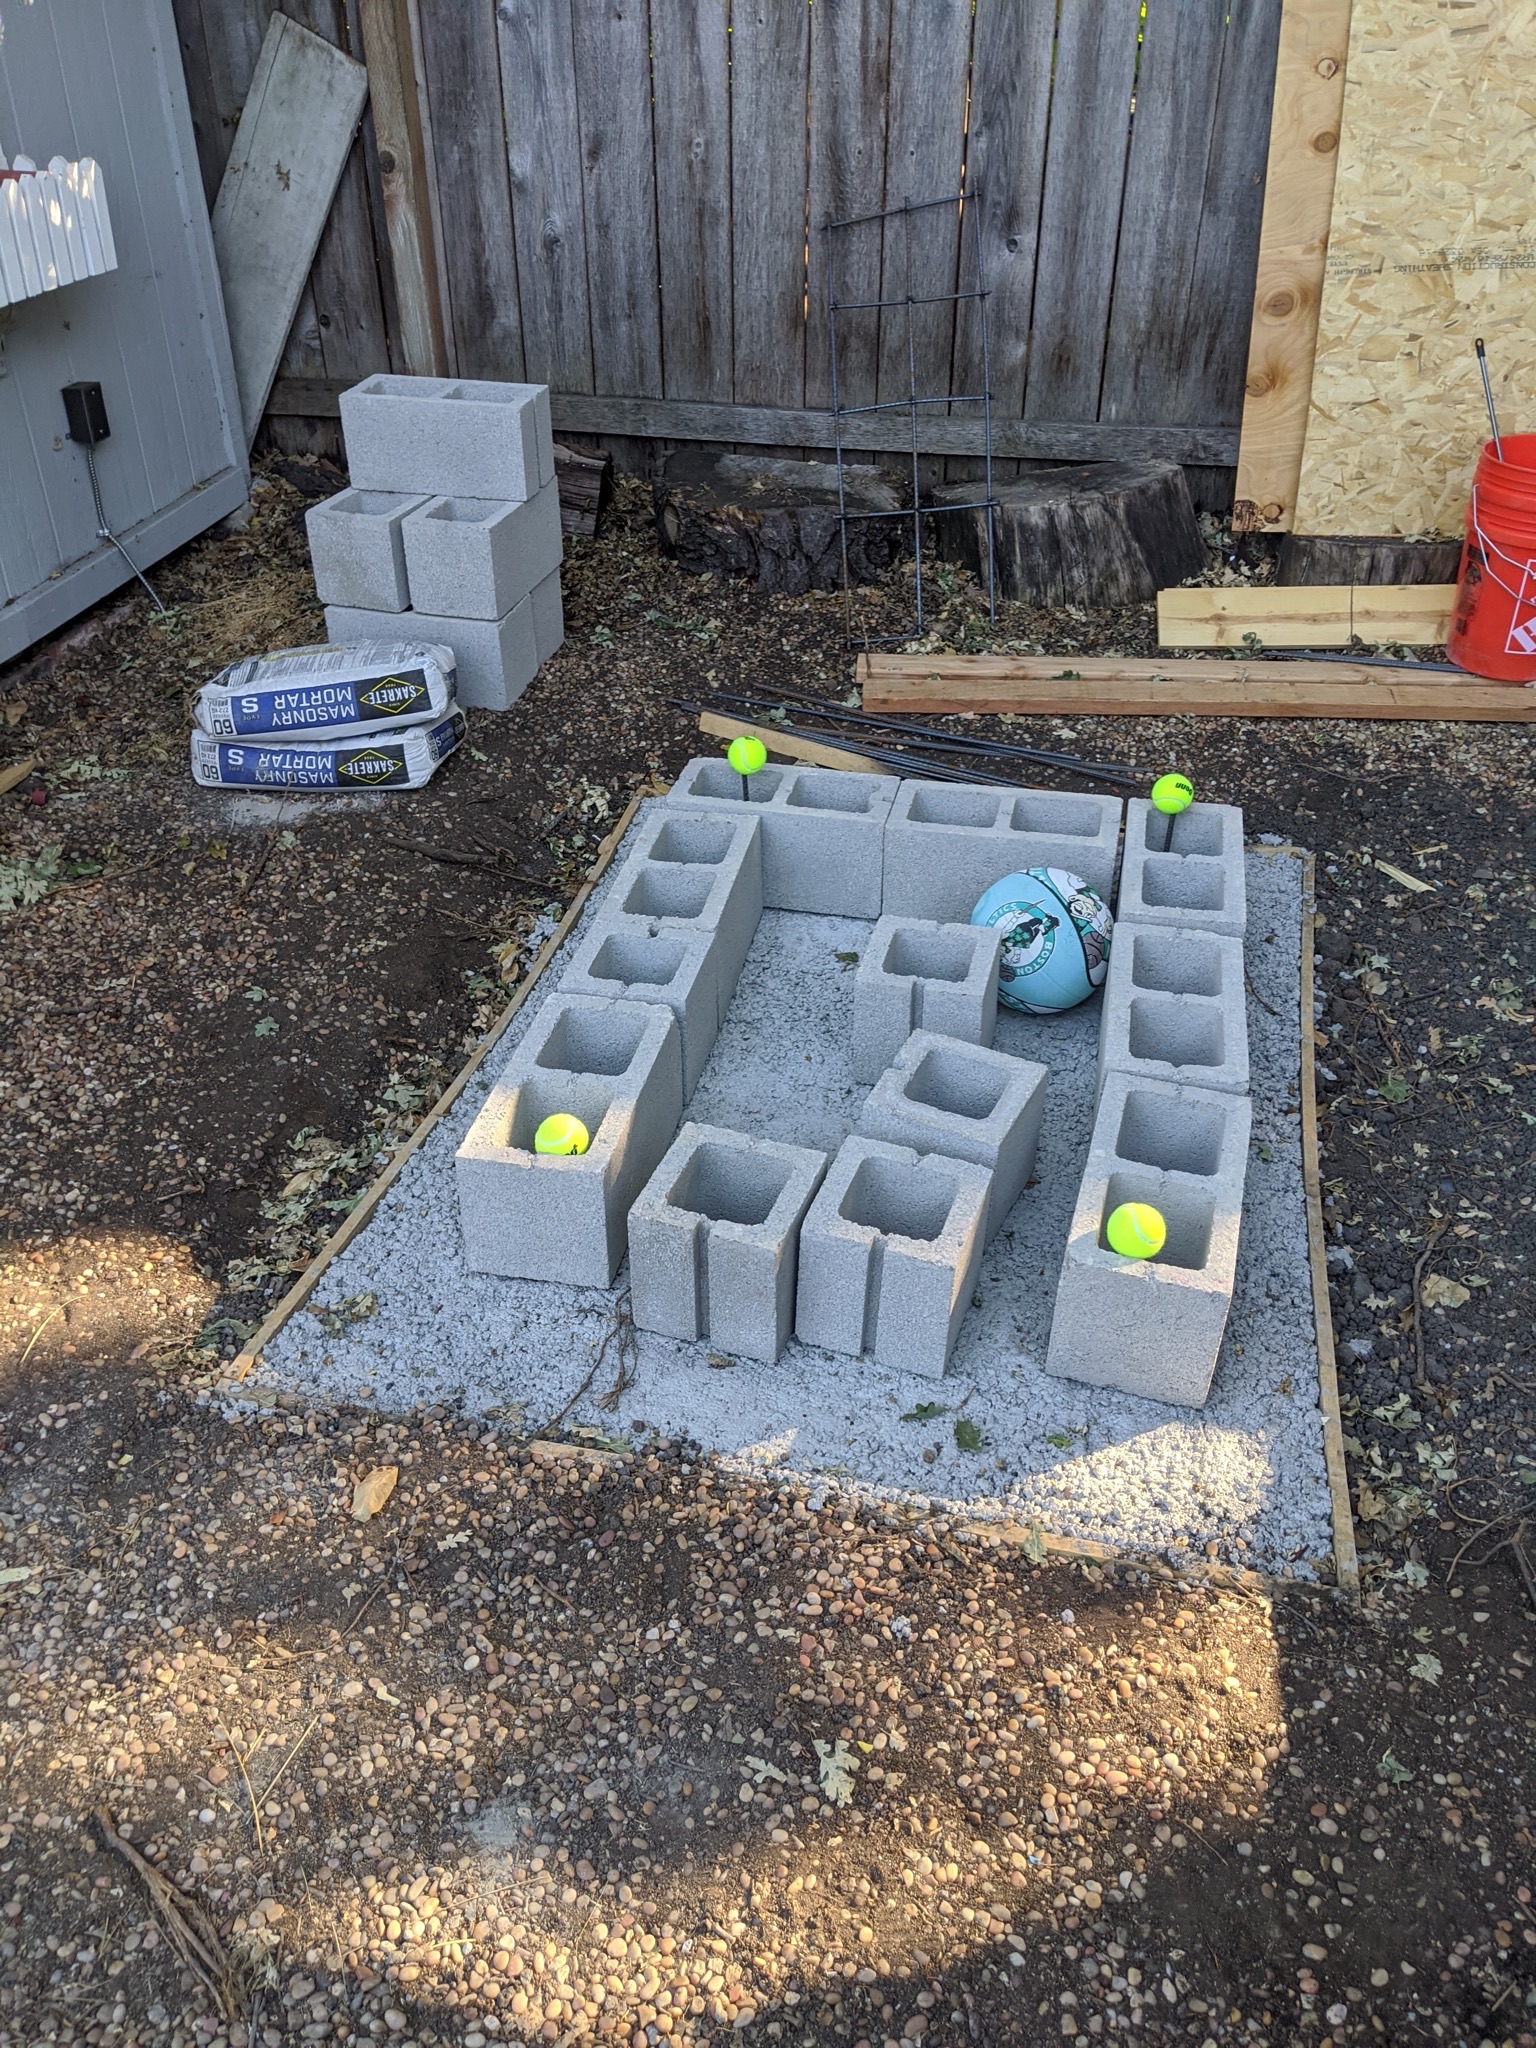
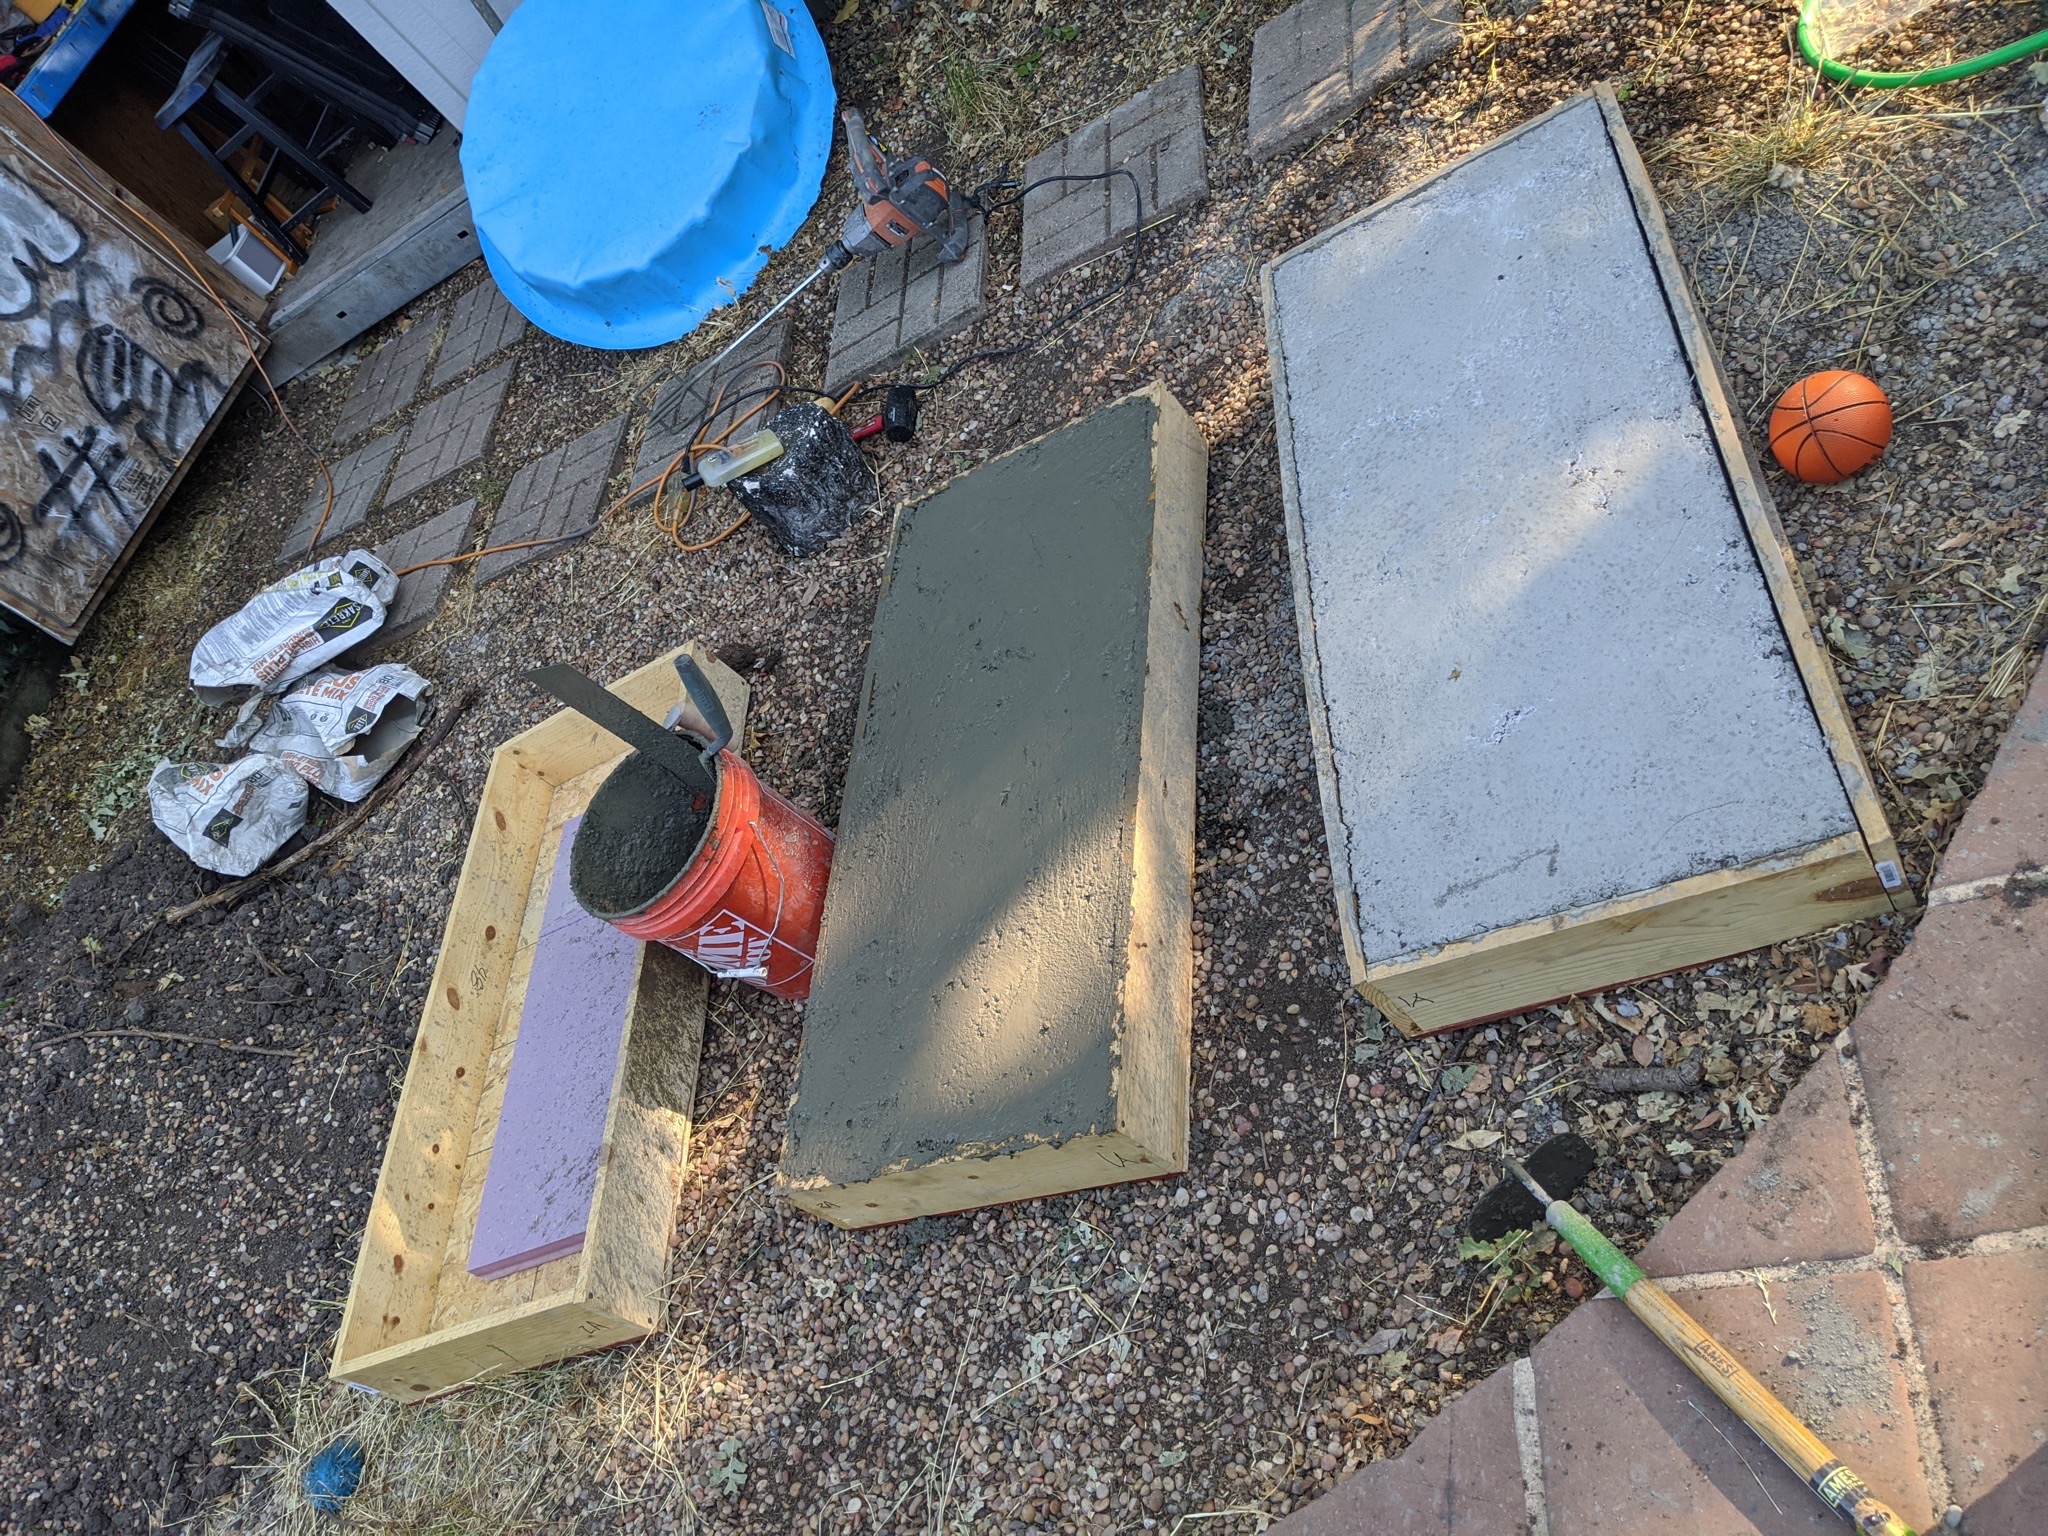
I built some molds for the slab that was going to sit on top of the base. The three pieces were to sit next to each other, and had a carveout for some insulation and the cook surface to sit on top.
Then I built the dome mold, which was a bit more complicated. I used a piece of plywood as the base, and cut a hole in it to seat an exercise ball in. I fashioned something for the entryway of the oven, then wrapped all of it in several layers of plastic wrap. I then covered it in refractory concrete, reinforced with chicken wire.
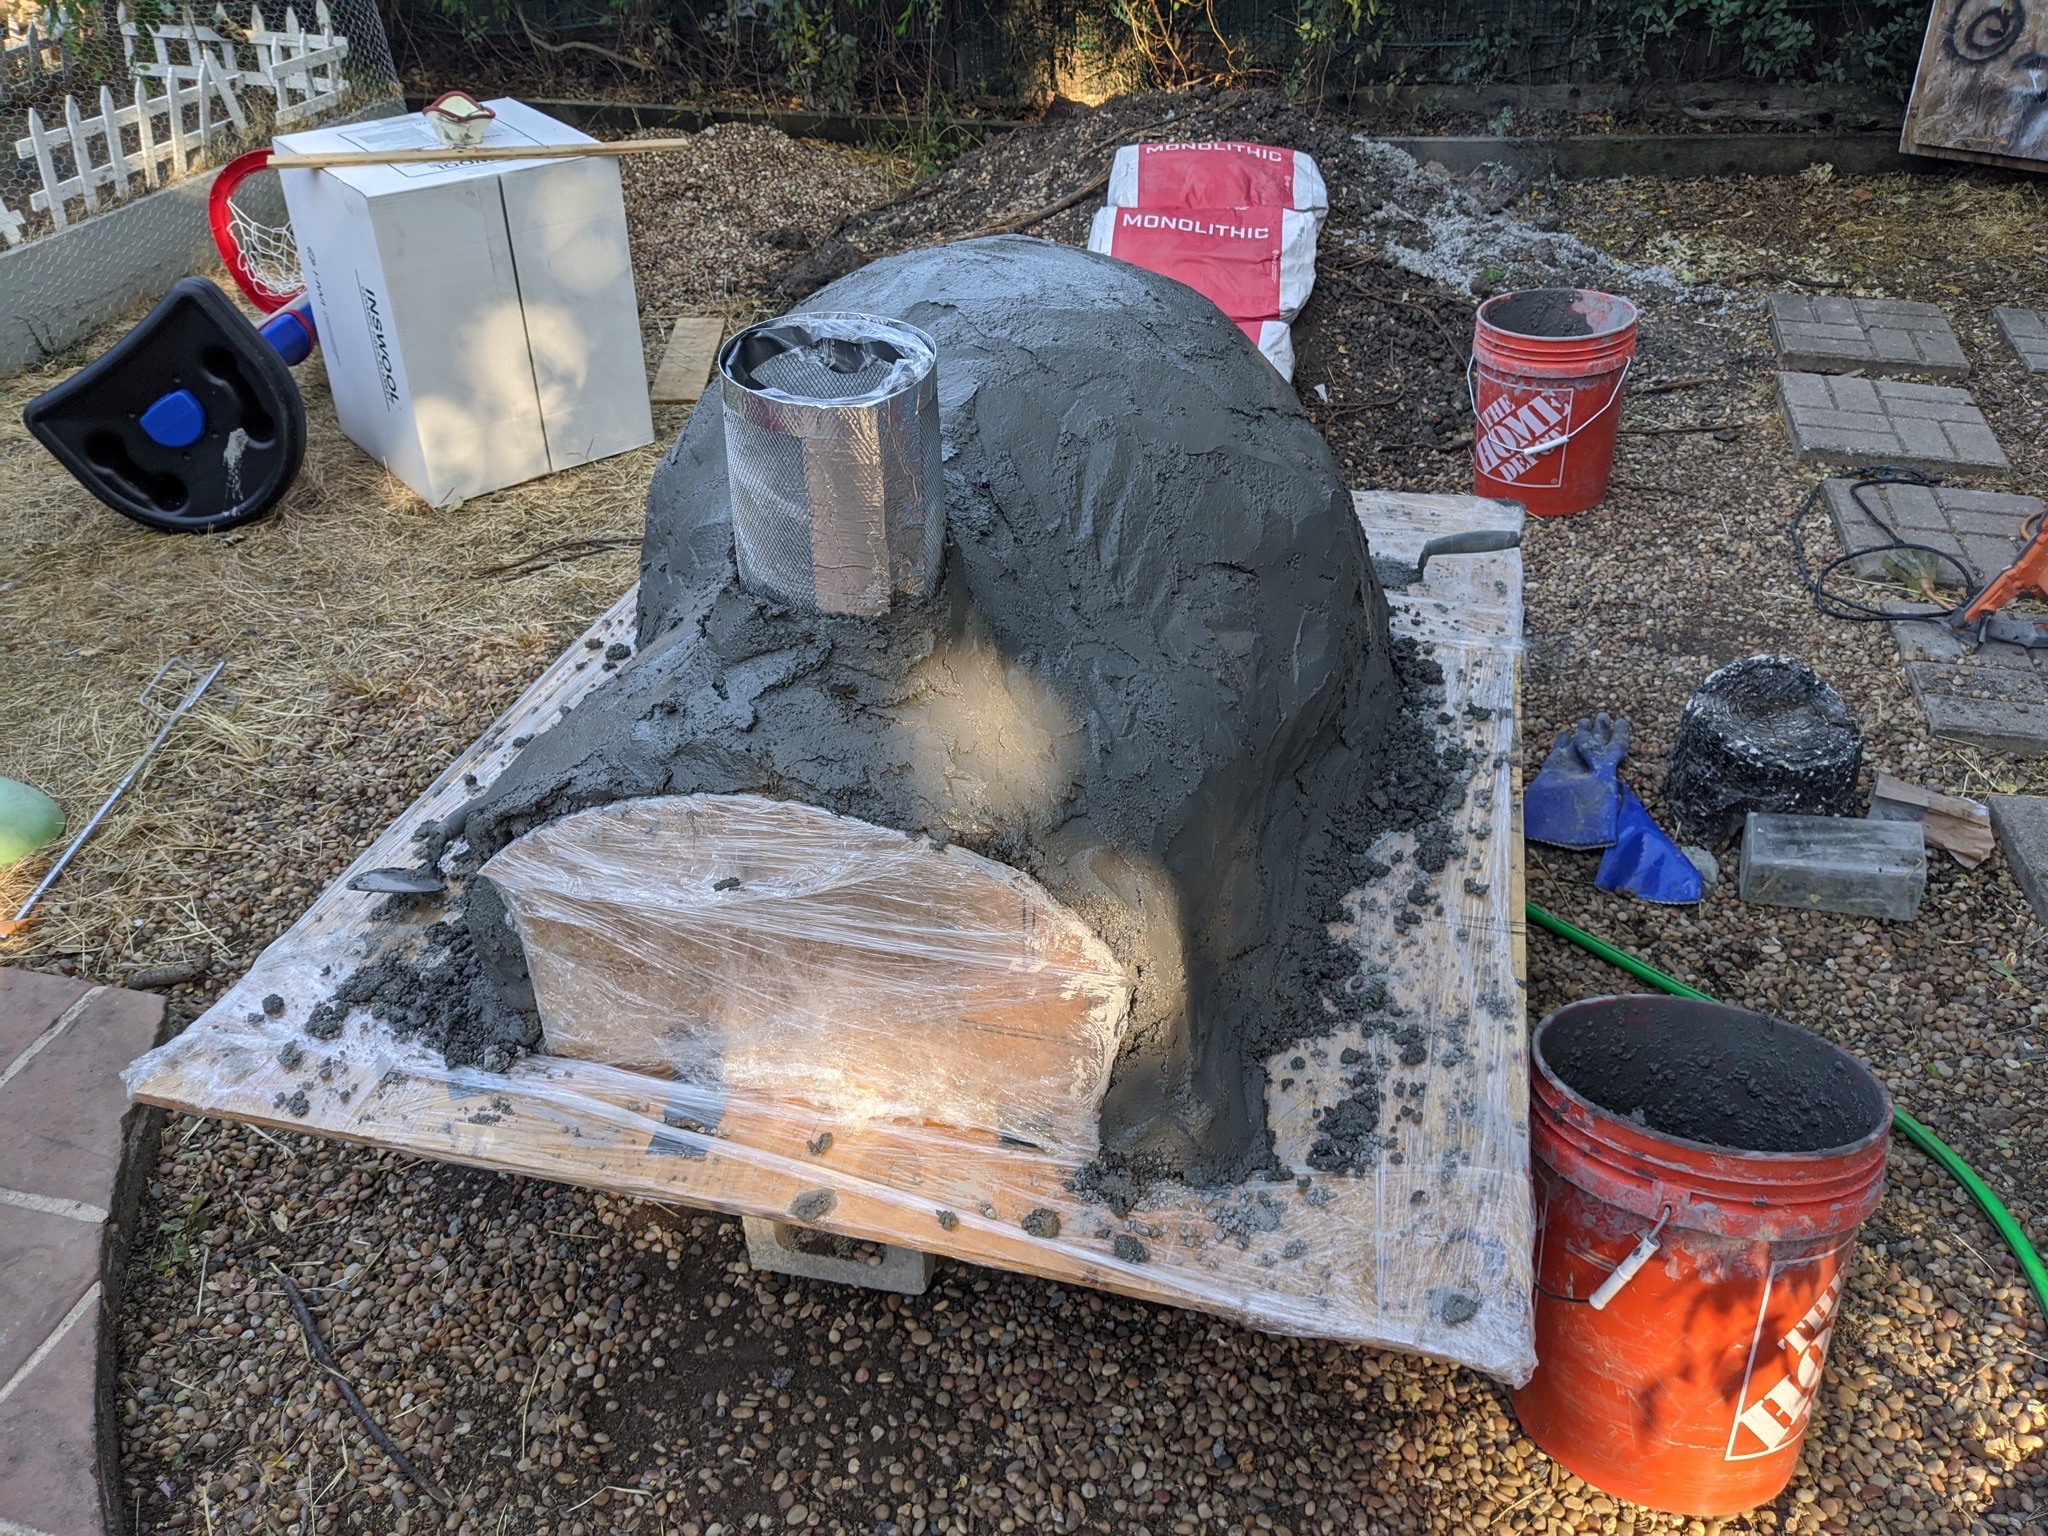
Refractory concrete is what fire brick is made from. I also used that material for the cook surface. Which you can see in the next photo sitting under the dome.
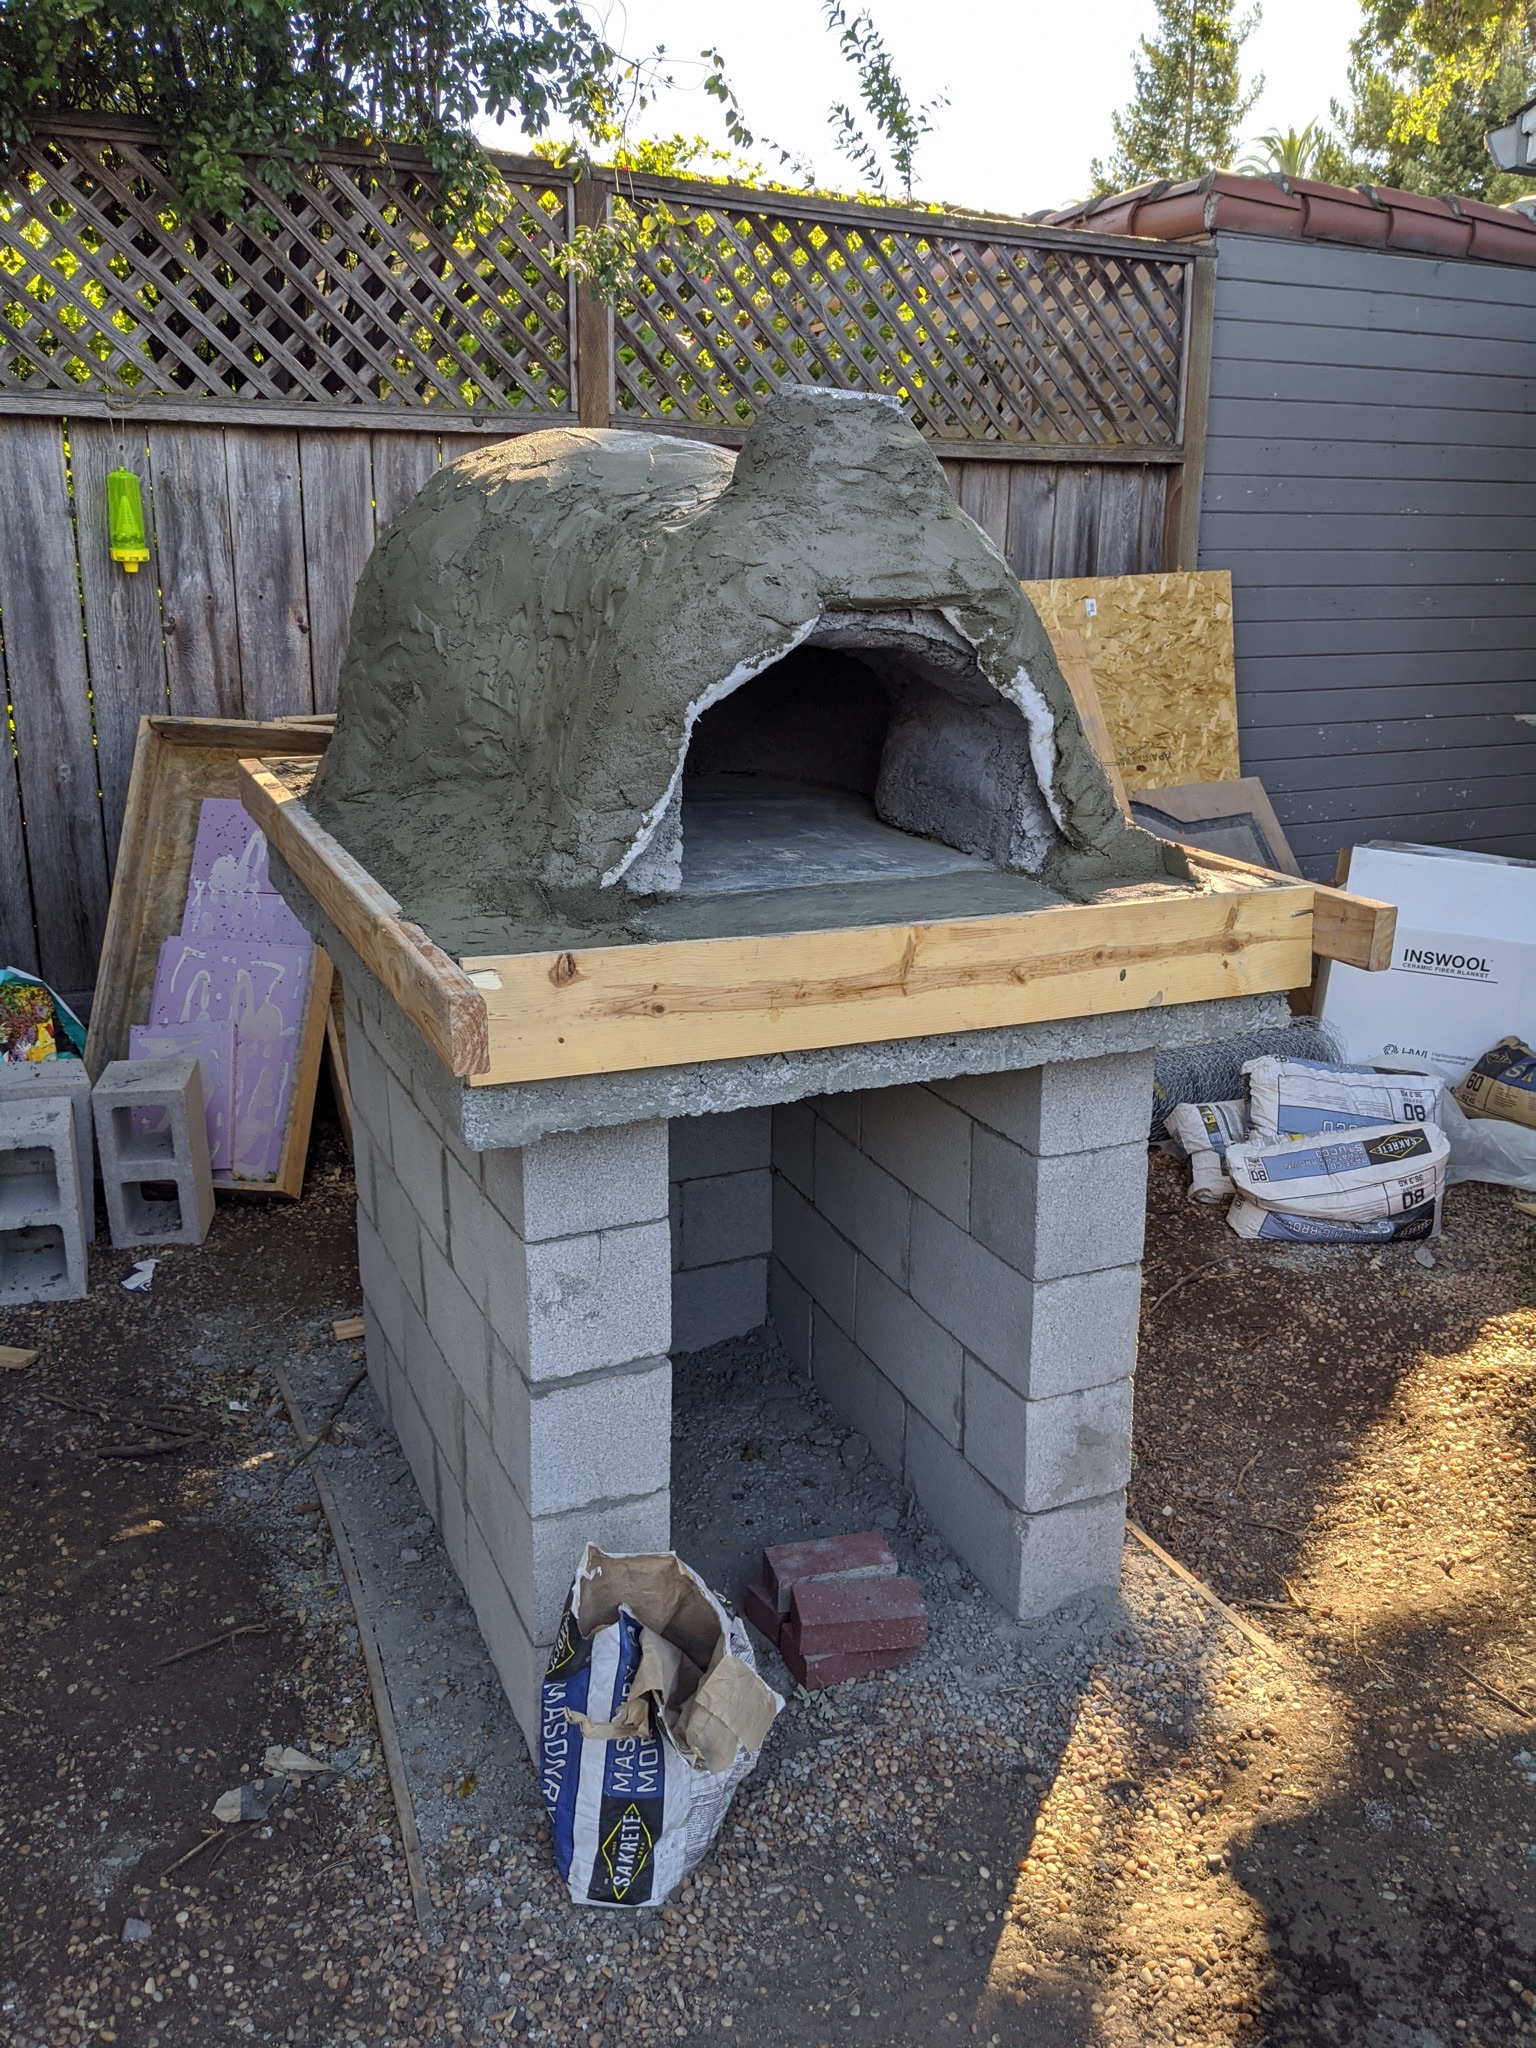
From there it was just cleaning things up and getting the oven running with some small to progressively larger fires to cure it.
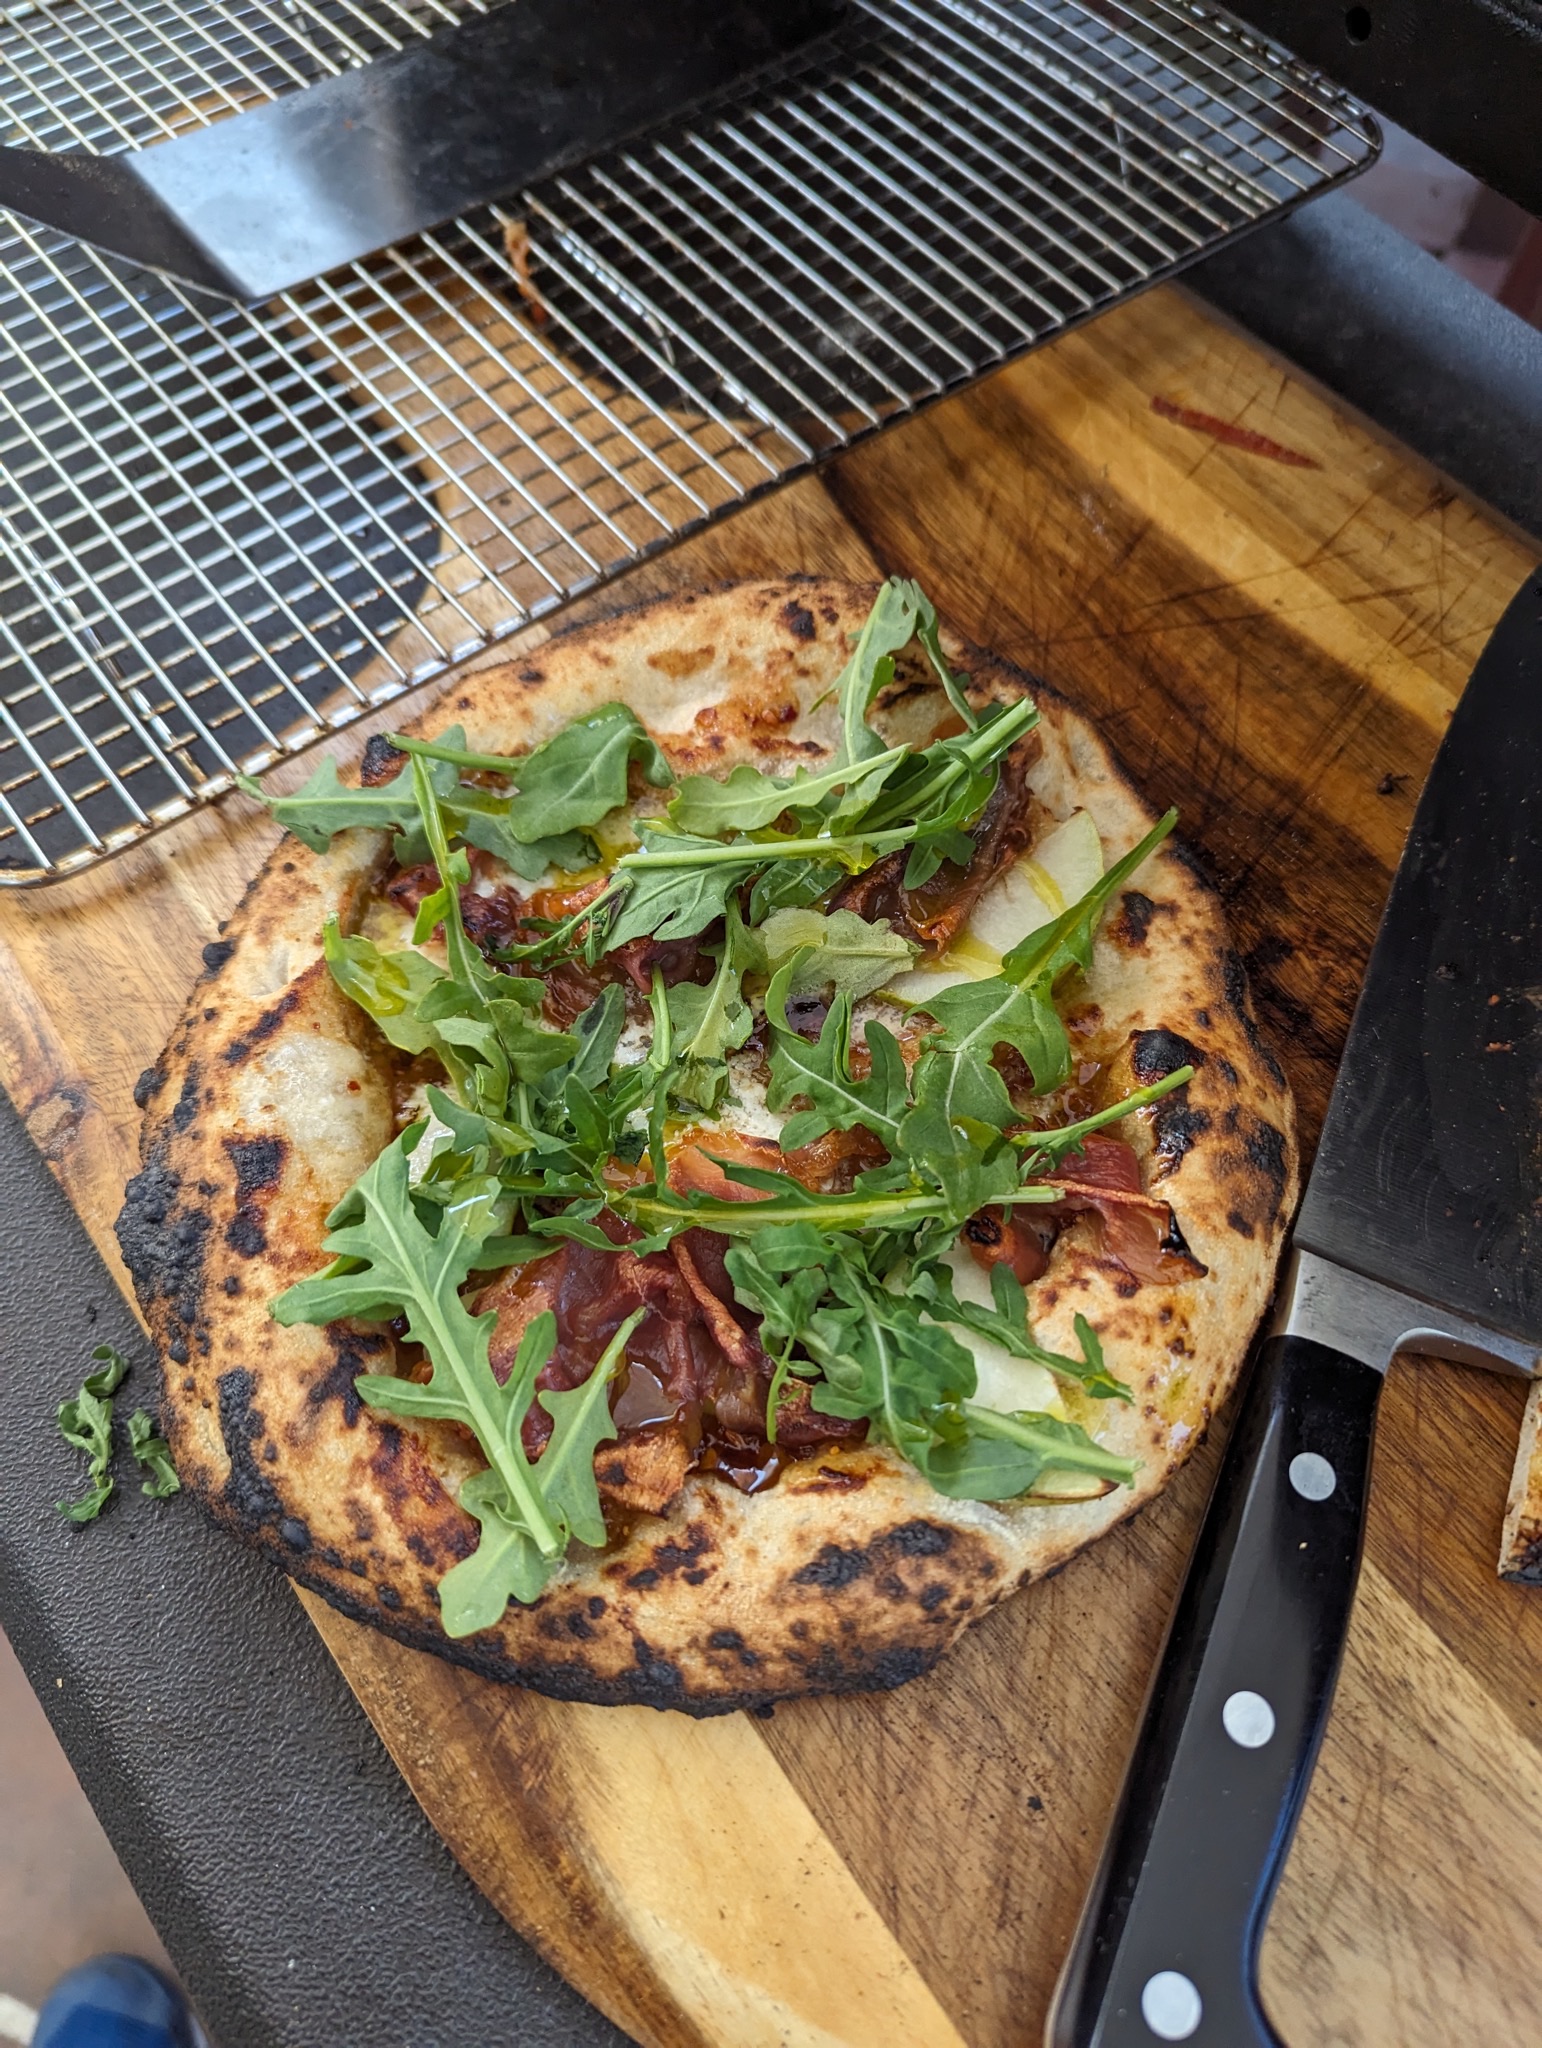
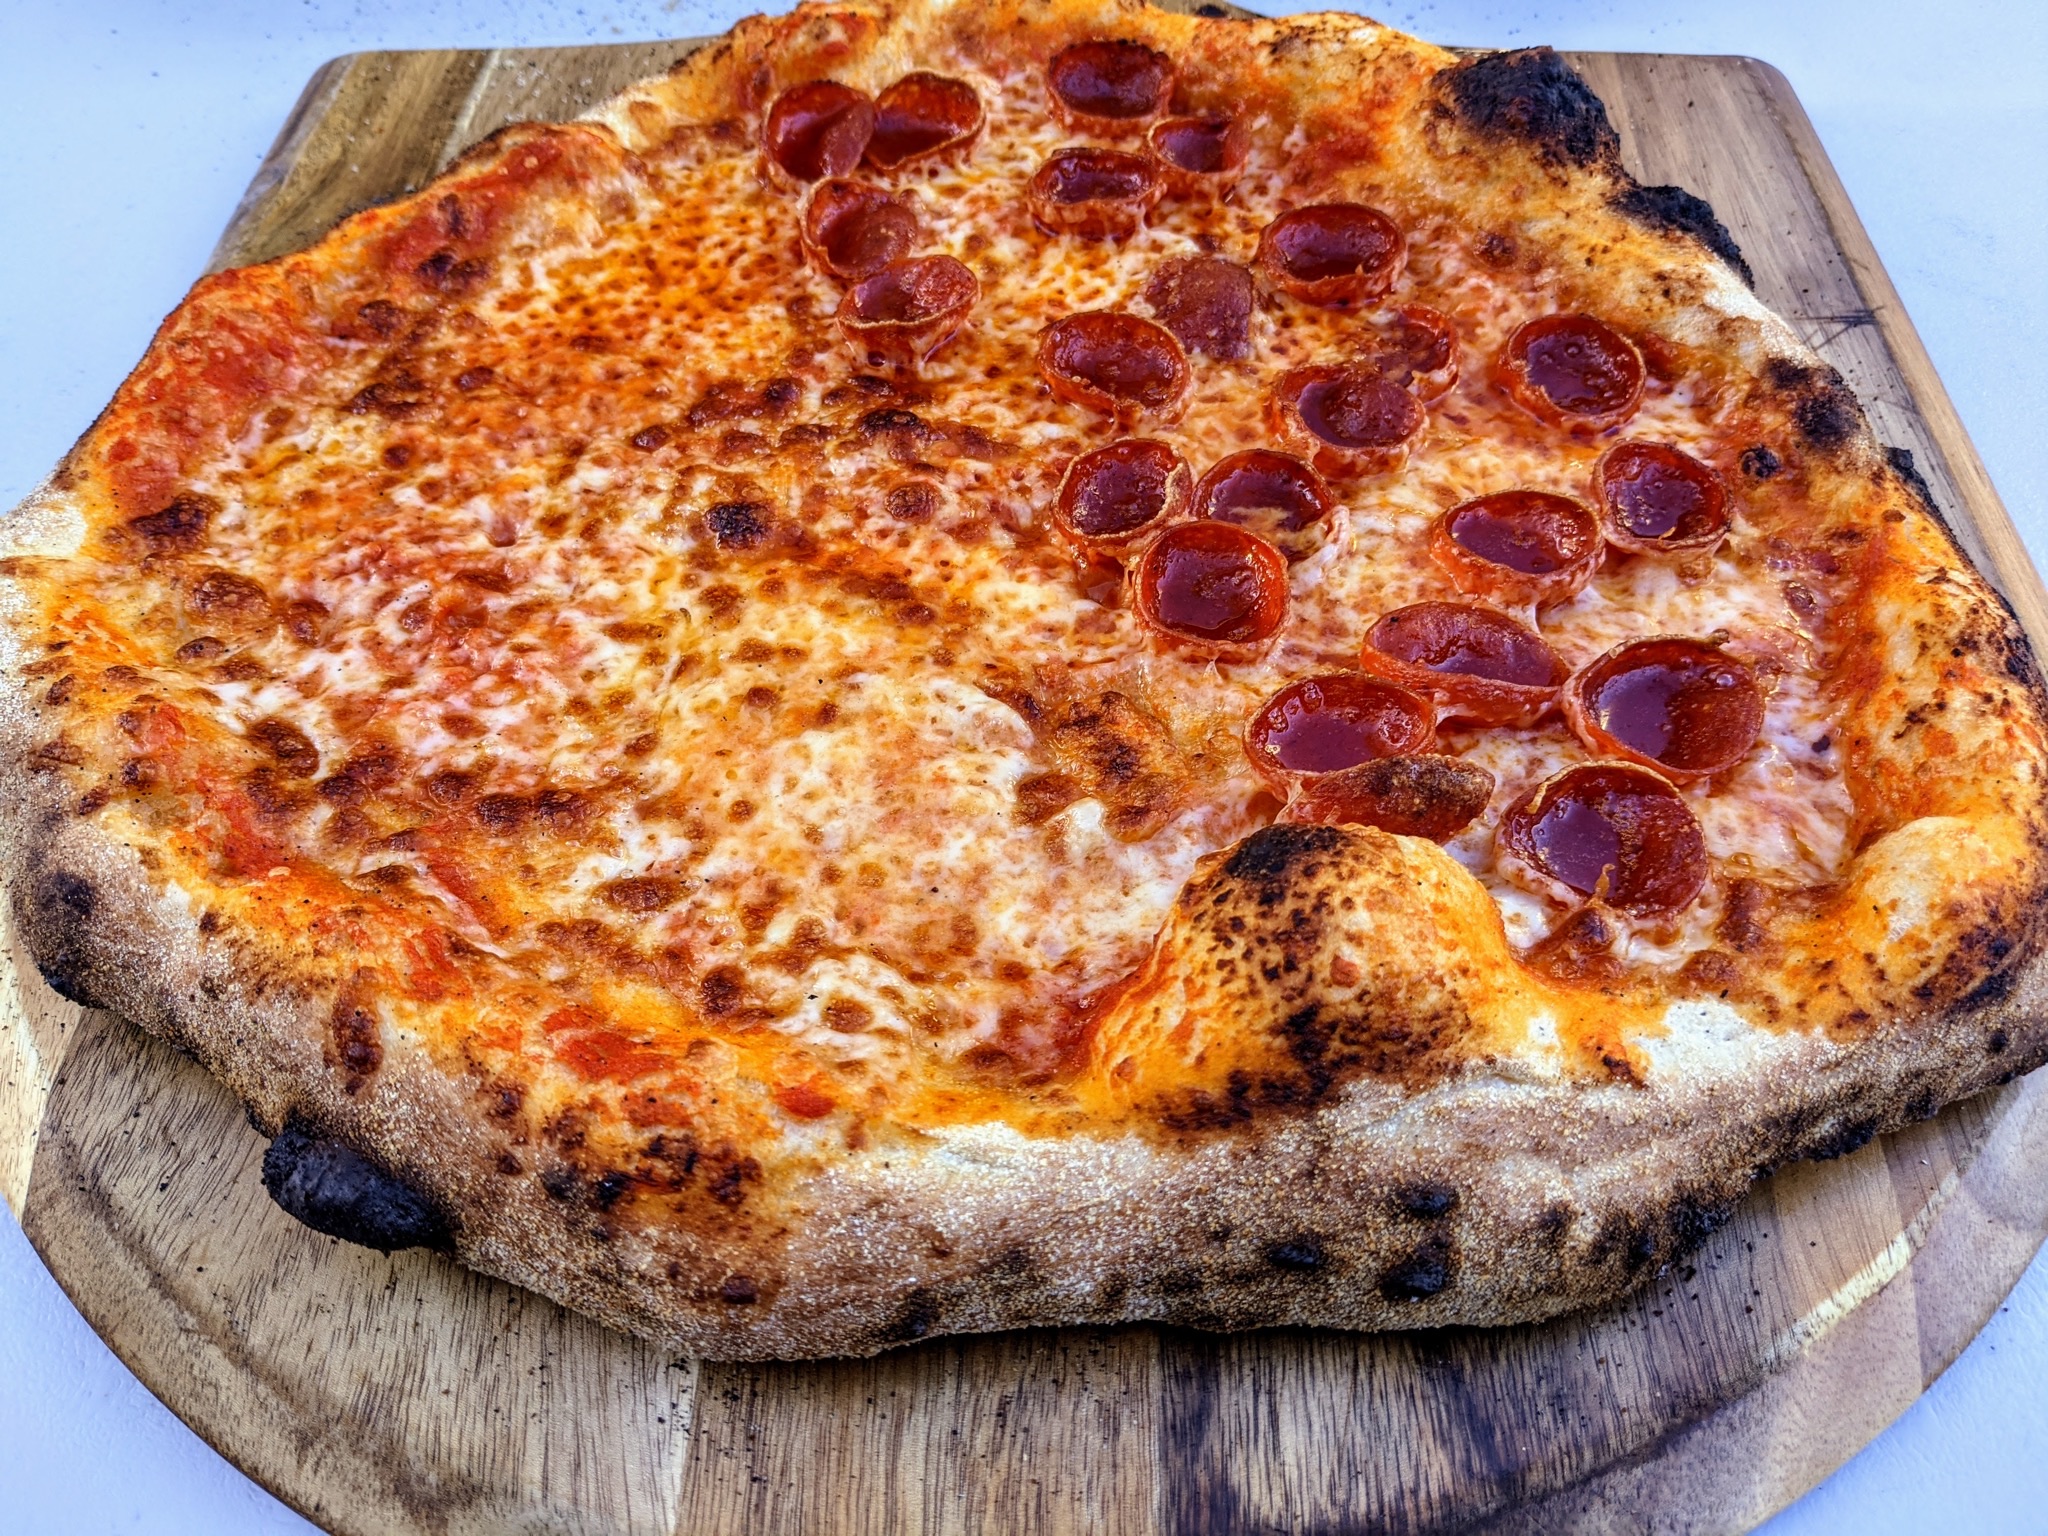
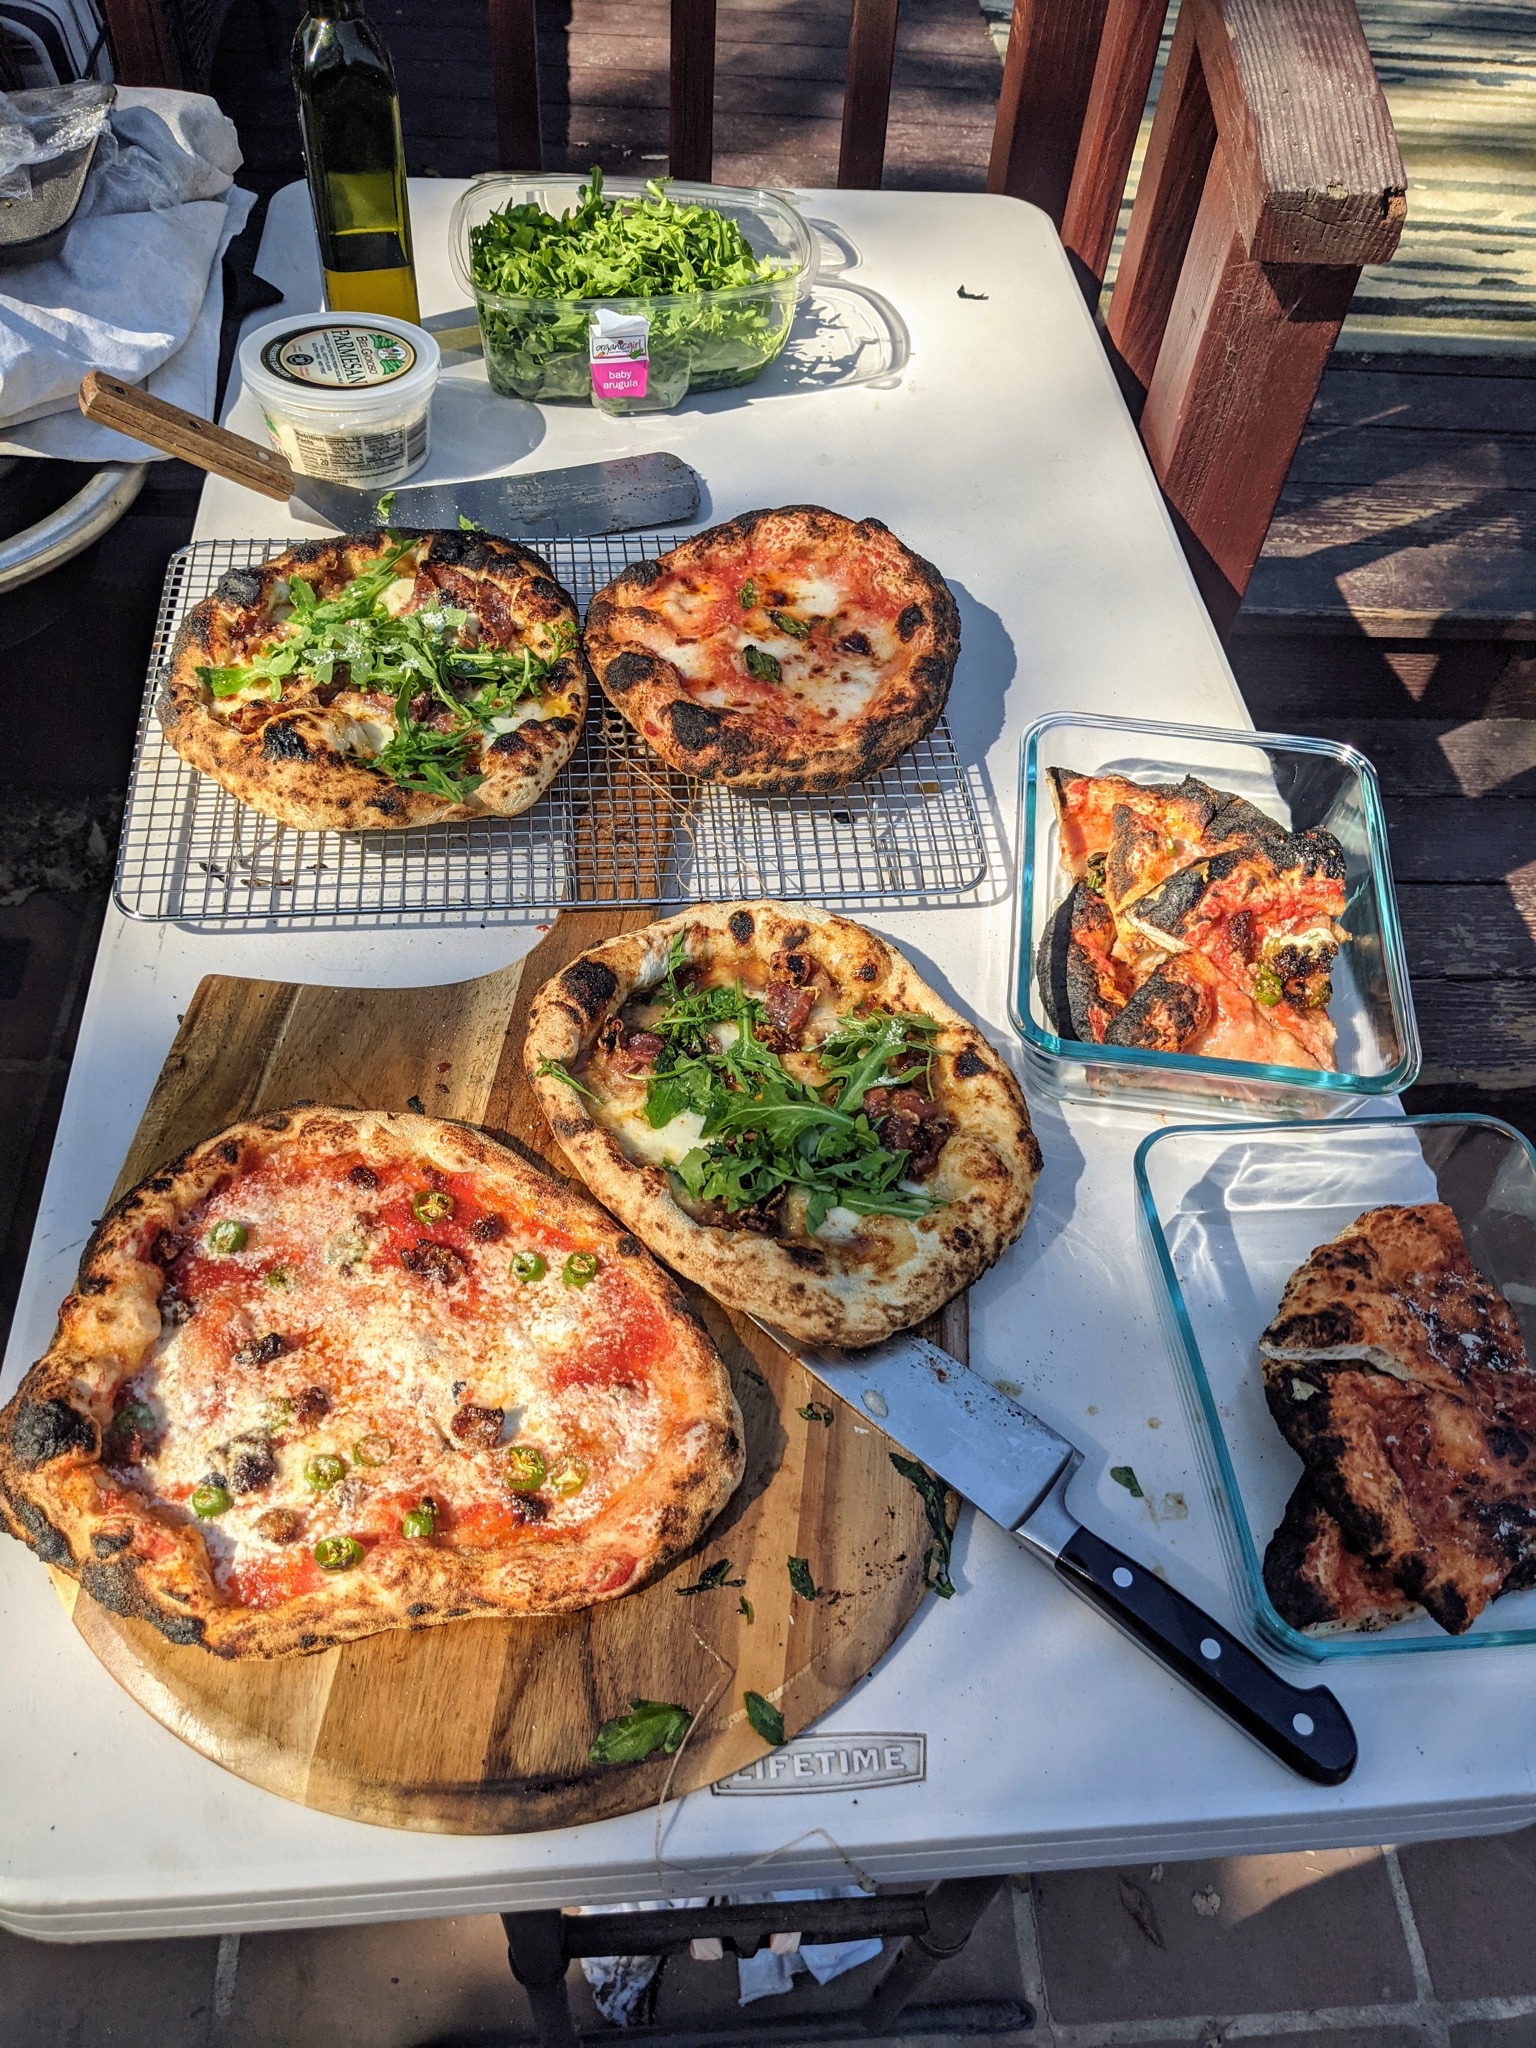
After that, it was off to the races making pizza! I think the first time we used it, I made 14 pizzas in a row.