Netflix (and Audible) on Glass!
Netflix (and Audible) on Glass!
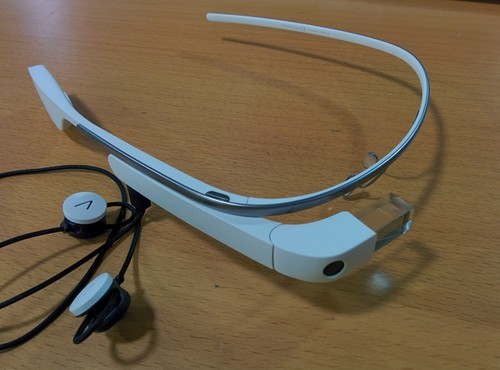
Did you know that you could install regular Android apps on Glass? What’s more, some of them don’t crash immediately, and actually kind of work! This one’s pretty simple, here’s what you’re going to need:
- Google Glass
- Bluetooth keyboard and mouse
- Settings.apk
- Ability to get apks for whatever apps you want to install
- Android SDK installed
- Ability to build and install Android apps from source
I’m not going to post links to apps’ apks, because that’s not cool. You’ll need to figure that bit out yourselves. (Hint, use a rooted phone.)
Start off by putting your device into debug mode, if you haven’t already. Next, grab Settings.apk and install it on Glass.
adb install Settings.apk
After that, clone, compile and install Glass Launcher from GitHub. If you aren’t familiar with how to do this, try the following:
git clone git@github.com:justindriggers/Glass-Launcher.git
cd Glass-Launcher
ant debug
adb install bin/*.apk
Disclaimer, I don’t build from the command-line, so YMMV with the above commands. Also, probably specify the actual apk instead of *.apk, I’m just not sure what it’s name is going to be once compiled.
After you have both Glass Launcher and Settings installed, try using Glass Launcher to launch the Settings app. You can use the touchpad to highlight and select different elements. You should be able to navigate into the Bluetooth settings, and pair your keyboard and mouse. Get those set up now.
Download and install an app that you want, like Netflix or Audible. Now you can use the keyboard to log into your account on Netflix or Audible. So far, so good. For Netflix, this is really all you need. If you want to use Audible, you’ll need to get the mouse out in order to select the title that you want to download. You’ll also need to use the mouse to start playing a title initially, but once you have something in your ‘currently playing’ section, you can get by with just the touchpad.
All set! Now you can enjoy your books and movies right on Glass!
Going back to CDs
Going back to CDs

After more than a decade of getting my music almost exclusively via digital distribution channels (yes, legal ones), I’ve decided to go back to CDs. I started a project of ripping all of my CDs into several formats, mp3s for the car, Apple Lossless for listening on my Macs, and FLAC for my phone. I have a DAC, and decent headphones, and I’ve started to be able to hear the difference in quality between streaming music, and lossless stuff that I have locally.
It has been a very interesting experience so far, going back and listening to albums that I haven’t listened to in years, and hearing new bits and pieces that I hadn’t noticed before. Re-listening to some of my all-time favorite albums, like “Mellon Collie and the Infinite Sadness”, has been really fantastic. I heard a vocal track on Cake’s “The Distance” that I had never really heard before, and that was one of my favorite songs at one point.
Unfortunately, I’ve also lost a lot of my favorite albums over the years, to and from college, moving across the country a couple of times, and generally not using them. I’m going through slowly and ripping what I have, and collecting things that I’ve never owned, new stuff, and back-filling things that I lost. Doing it this way also encourages me to really listen to what I’ve got playing, and I’m finding that just doing that, I’m enjoying music more than I have in a long time.
The Space Monkey Upgrade Scam
The Space Monkey Upgrade Scam
Earlier this year, Space Monkey launched their Kickstarter campaign for their device and service. Before I get into my issue, I’ll give you a short background.
About Space Monkey
Space Monkey is a cloud storage solution that offers 1TB of storage for $10/month, by doing things a little differently. They give you a device to use, you put your files on the device, your data is encrypted on the device, then chunked up and backed up across their network via Bittorrent. It’s a really cool idea, and I had been following the company since they won a startup competition a couple years ago. When I got the email that they had launched a Kickstarter, I immediately backed the project at the $99 level (“Early-bird special. 1 Terabyte of Space Monkey storage for 12 months (device included in your subscription).”), and emailed all of my friends about it. They have been shipping devices for the last couple of months, and appear to be making good progress through their queue. I’ve had mine for a couple weeks. The jury is still out for me as to how I feel about the service. It’s the sort of thing that really requires a fair amount of time dealing with it before you can make a fair evaluation. That said, so far, I like it.
The Upgrade
About two or three weeks ago, I started getting emails from Space Monkey about ‘upgrading’ my service. They are starting to sell the device on their site, and the pricing is different. Basically, now they’re selling the device and first year of service for $199, and going forward the service is $49/yr instead of $110. The upgrade email was asking Kickstarter backers to pay $79 to buy out their device from Space Monkey, and that they would get onto the $49 plan after the first year (which had already been paid for). Another week goes by and they threw in 6 months of service along with the $79 fee. The deadline was to be the end of December. That’s the backstory.
I’m going to hold off on giving my feelings about this, I’ll come back to that shortly. I can see two ways of looking at this. One way is to say, ok $80 to buy out the device then getting 6 months of service, and then paying less going forward is not a bad deal. The other way is to say, as far as I’m concerned, I already own the device, so what am I paying $80 for aside from to have Space Monkey switch my plan for me? Other people might fall somewhere in between, being annoyed at needing to pay $80, but thinking it’s a good enough deal or simply not wanting to make an issue of it.
If you don’t think that you own the device, then I don’t think that the upgrade offer is a bad deal. It offers a certain value, and I think the value is in line with the offer.
If you do think you own the device, this is email is a big deal! They are claiming to own something that you thought you bought from them already, and trying to sell it to you a second time. Regardless of whether or not you want the upgrade, it is really important to get this issue straightened out. It is also a huge red flag that might make you question whether or not you want to invest any more of your time or effort into getting your data onto their service, given that trust may now be a serious issue.
I own the device that I’ve already paid for and have in my possession
My view is that I own the device, and I’m upset that they’re claiming that I need to pay them $80 to buy a device that I already paid for. Given that this is my view, I emailed Space Monkey’s support and asked them to clarify the offer, what exactly I’m paying for, since I already own the device. What followed was a long back and forth email, which was incredibly frustrating.
Essentially, their view was that I was leasing the device from them, and that at the end of the service if I didn’t want to renew, that I would need to send the device back. The upgrade fee was to cover the cost of the device. A customer service rep wrote to me, “We said in the rewards "device included in subscription,” as in it was no longer included without the subscription.“ They also mentioned that they had said something about leasing the device somewhere in the FAQs. As such, the offer makes sense and is fair.
I responded, that "device included in subscription” does not mean “it was no longer included without the subscription”, that though it may have been the intended implied meaning, it was never made explicit (and I didn’t even think that it was implied). They should have been explicit about this in the flow for backing their Kickstarter project. They did not, apparently they had people ask the question, and answered it as they were leasing the device, but it was never made clear in the flow of backing their project. The example that I gave was that if I were to walk into Verizon and get one of their free phones that accompanies the service, I get to keep the phone when my contract is up. To me, “device included in subscription” means that the cost of the device is rolled into the service fees. This made sense to me because they’re distributing all of their backups across a P2P network, and therefore probably don’t have much storage costs themselves. The cost to them is probably incredibly low per customer. What’s more, the device is pretty useless without the service, and it’s way cheaper than the competition. If they give users a good experience in their first year, they’ve probably got a customer for at least a few years.
I went back and re-read the Kickstarter and did not find any reference to the idea that I would be leasing the device from them. I asked the customer service rep to prove to me that they owned the device and that I was leasing it. I also asked them to tell me how they planned on reclaiming the device at the end of my service when I refused to return it. They could not give me a satisfactory answer to the question of proving that they owned it (aside from saying that if I continued to use it, I would be entering into a new agreement that they owned it). They did not even attempt to answer my second question.
Now that I’ve given you a short version of the back and forth between myself and Space Monkey’s CS reps, as well as links to the Kickstarter and Space Monkey’s site. I’m putting it to the internet, because I’m completely sick of thinking about this:
- Who owns the device?
- Is the offer reasonable?
- Should I be upset about this?
- Should I just send it back and ask for a refund?
- What should I do???
Update
I decided to go for the refund.
There was a decent discussion on Hacker News earlier, where some of the Space Monkey employees weighed in and offered their perspective.
I’d also like to be clear about why I used the term 'scam’ in the title. I was referring to the upgrade offer specifically, not their service. Their service seems like a legitimate service, and that they had simply screwed up the wording on their Kickstarter page. As I have outlined, they did not do the work necessary to state explicitly that the device was a lease. I think that they are aware of this, and are hoping to sort of sneak this by customers in their upgrade offer (though I do not know). When you try to sell somebody the same thing twice, by being sneaky, that is a scam.
Verizon Support Call Quality
Verizon Support Call Quality
Why is the call quality of Verizon’s support so terrible? They are supposed to be a telecom company, which is usually supposed to mean that they’re going to be responsible for handling all of your calls. So, why is the quality of their support lines so poor? I’m not talking the service that the reps give, that’s a whole other story.
It seems like if you have a call with perfect clarity, it should be to the mothership. Instead, it sounds like the representatives are hanging out at the beach, talking amongst themselves (I can actually hear several other people’s conversations).
I’ve since moved off of Verizon to T-Mobile, and luckily have not needed to call their customer service yet. And, even luckier, Talkray’s call quality is consistently very good.
Google Glass with stereo earbuds. My new stereo earbuds came in today, and I’m pretty excited about them.
Google Glass with stereo earbuds. My new stereo earbuds came in today, and I’m pretty excited about them.
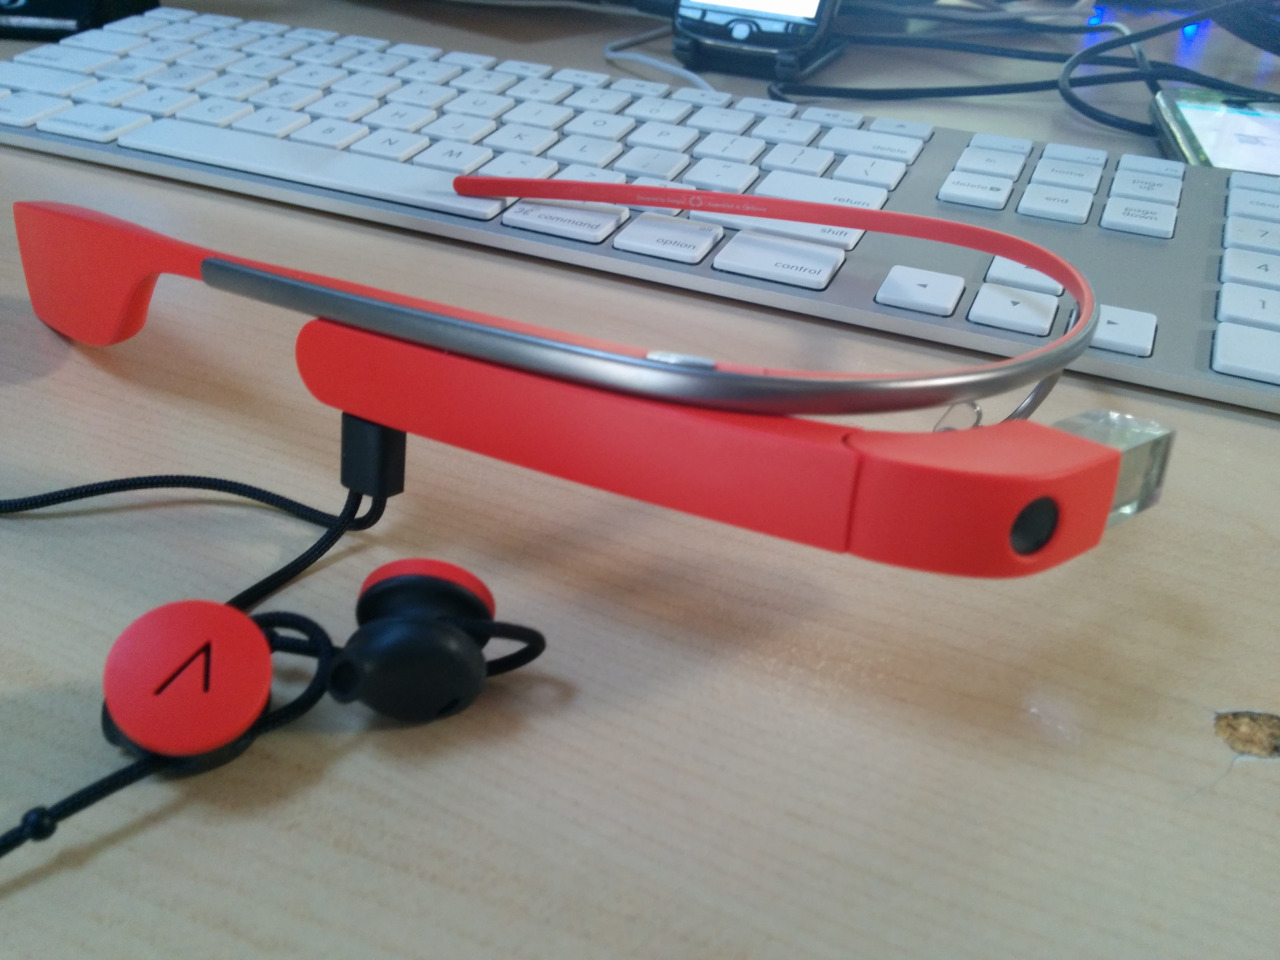
The stereo earbuds are the single biggest improvement I’ve seen in Glass so far. The bone conduction speaker was interesting, but inaudible in most normal situations. This is going to allow me to actually use Glass for several different things that while possible, was impractical before, like using it as a headset for calling, listening to music and being able to actually hear directions.
One missing feature is a2dp. I would love to see support for the bluetooth a2dp client profile on Glass. There are a lot of apps on phones that I use, like Audible, that do not have Glassware yet, and will likely take a while getting there. It would be nice to be able to use Glass with my new stereo earbuds to listen to any audio coming from my phone.
If I could do this, I could actually use my new Glass earbuds on my daily bike commute, but as it is, I still need to use the wired earbuds, since I listen to Audible books on my ride. I saw at least one other Explorer asking for this on G+.
In terms of comfort, I’ve worn them for about an hour and a half so far, listening to music, and had to give them a rest. They aren’t terribly comfortable, so I’m hoping that the tips are easily replaceable.
An Android app to slow your test device down.
An Android app to slow your test device down.
I’ve got a bunch of Android devices at my desk, most of which are several years old. I need them for testing the apps that I work on, both to make sure that they work consistently across OEMs, but also to see how the app performs on older devices. The problem that I kept running into was that the old devices would feel faster than my newer phone, simply because there wasn’t as much running on them.
The Solution
Add some load to those test devices! I decided to create this app to make the phone do some sort of constant and predictable work in the background. It can do three things, load up the CPU, eat up about 130-140MB of memory (limited by the system here), and make network requests.

I also tried to architect and design the thing in a sane way, hopefully it’s not too difficult to understand.
API
In addition to launching and configuring manually, there is an API that allows you to broadcast an intent, with all the configuration options that you get in the UI! Here’s how you would launch it:
Intent launchLoadTest = new Intent();
launchLoadTest.setAction("com.feigdev.loadtester.api");
// Time in miliseconds
long keepAlive = 20 * 1000;
launchLoadTest.putExtra("KEEP_ALIVE", keepAlive);
launchLoadTest.putExtra("CPU_ENABLED", true);
launchLoadTest.putExtra("RAM_ENABLED", true);
launchLoadTest.putExtra("NET_ENABLED", true);
// Valid modes are "LOW", "MEDIUM" and "HIGH"
launchLoadTest.putExtra("MODE", LOW");
sendBroadcast(launchLoadTest);
And, when you’re done, you can kill it too:
Intent launchLoadTest = new Intent();
launchLoadTest.setAction("com.feigdev.loadtester.api");
launchLoadTest.putExtra("KILL_NOW", "KILL_NOW");
sendBroadcast(launchLoadTest);
Here is a project that launches and kills the LoadTester.
Notes
The configurations for load might need to be tweaked. It’s all just guess work at this point, and while I was able to put enough load on my Nexus 5 to freeze it up completely, I haven’t figured out what the best parameters are for a consistent load on each setting. Feel free to make pull requests with different values.
As far as walking through the code, I might break that out into several posts that look at the different components. I’m thinking that there are at least a few good topics in there that would be worth a short discussion.
If you’re looking for an apk, here’s one to download.
Intel HAXM on OS X 10.9 Mavericks is broken
Intel HAXM on OS X 10.9 Mavericks is broken
HAXM is an Intel driver for running a hardware accelerated version of the Android emulator. It works really, really, really well. When it works. However, there appears to be a bug in the latest version of OS X where trying to load a HAXM accelerated Android emulator will cause a kernel panic, and you’ll need to kill your Mac.
Here’s the link to the thread on Intel’s forums: http://software.intel.com/en-us/comment/1761988
I’ll be keeping a close eye, because, again, the accelerated Android emulator experience is really that good. It’s actually seems to be as fast as the iOS emulator, which is impressive.
Update
The same thread says they’ve pushed a hotfix, and that it should work now!
Installing HAXM
For those of you not on OS X 10.9, HAXM is available for Linux, and Windows as well. Here are some instructions:
You’ll need to download and install the Intel x86 image in the SDK manager, preferably for 4.3, then you will need to install the driver from Intel:
- Instructions: http://software.intel.com/en-us/articles/installation-instructions-for-intel-hardware-accelerated-execution-manager-mac-os-x
- Driver download: http://software.intel.com/en-us/articles/intel-hardware-accelerated-execution-manager/
Then, set up an emulator in the AVD Manager using the x86 image, and match the RAM to whatever you set in the intel driver setup. Also, make sure to use the ‘use host gpu’ option in the virtual device settings.
talkray:
talkray:
Special Delivery!
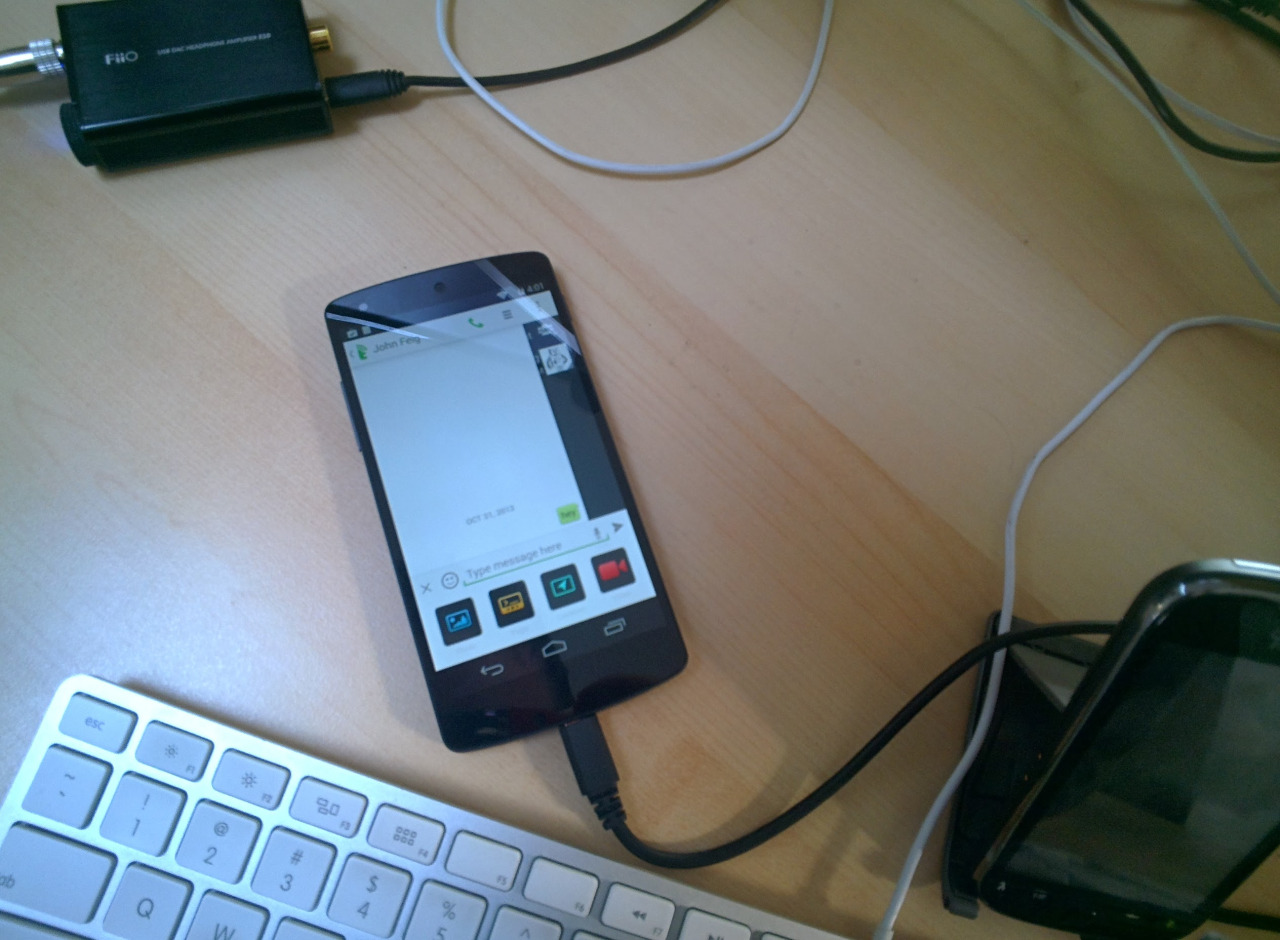
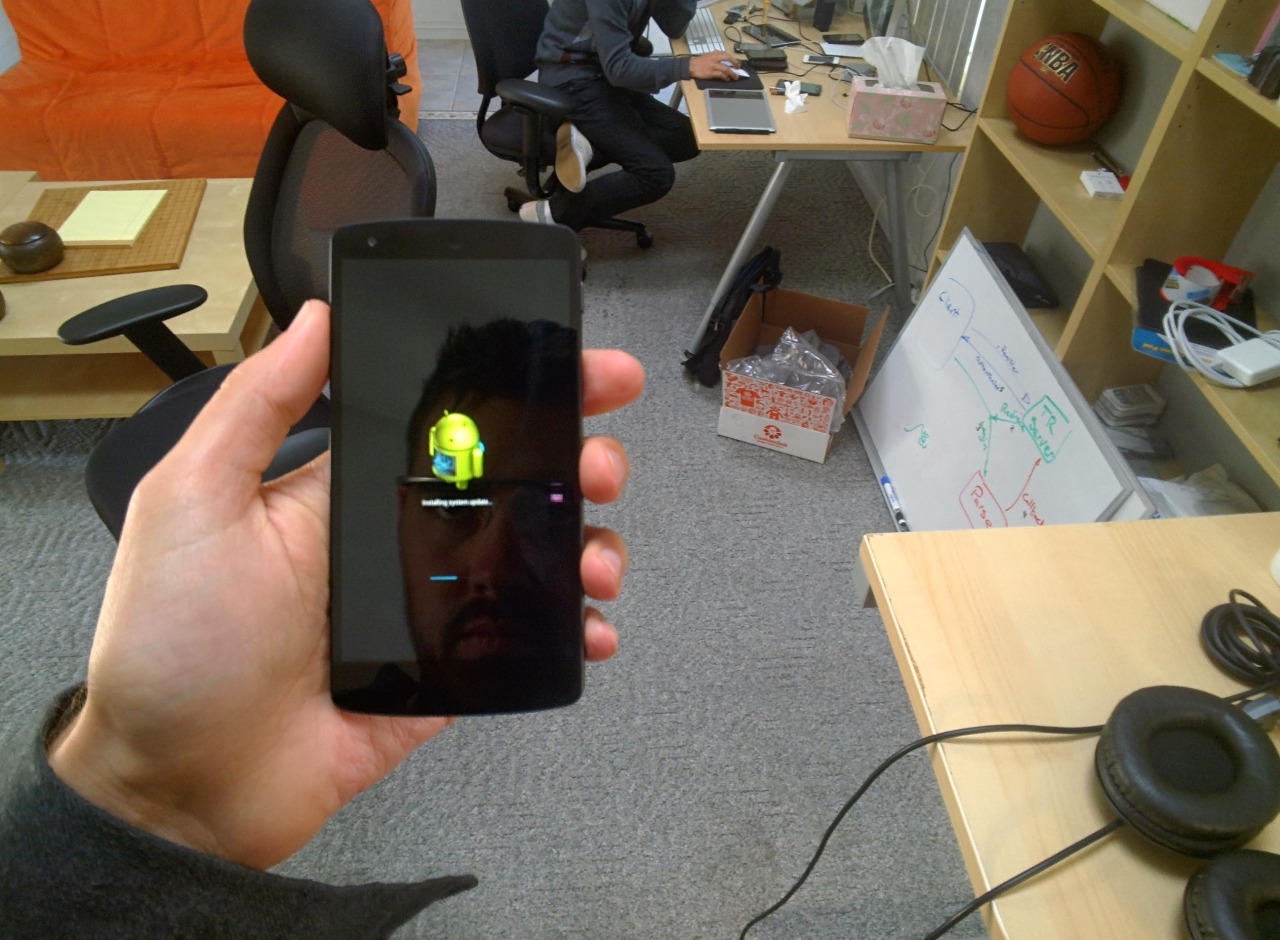
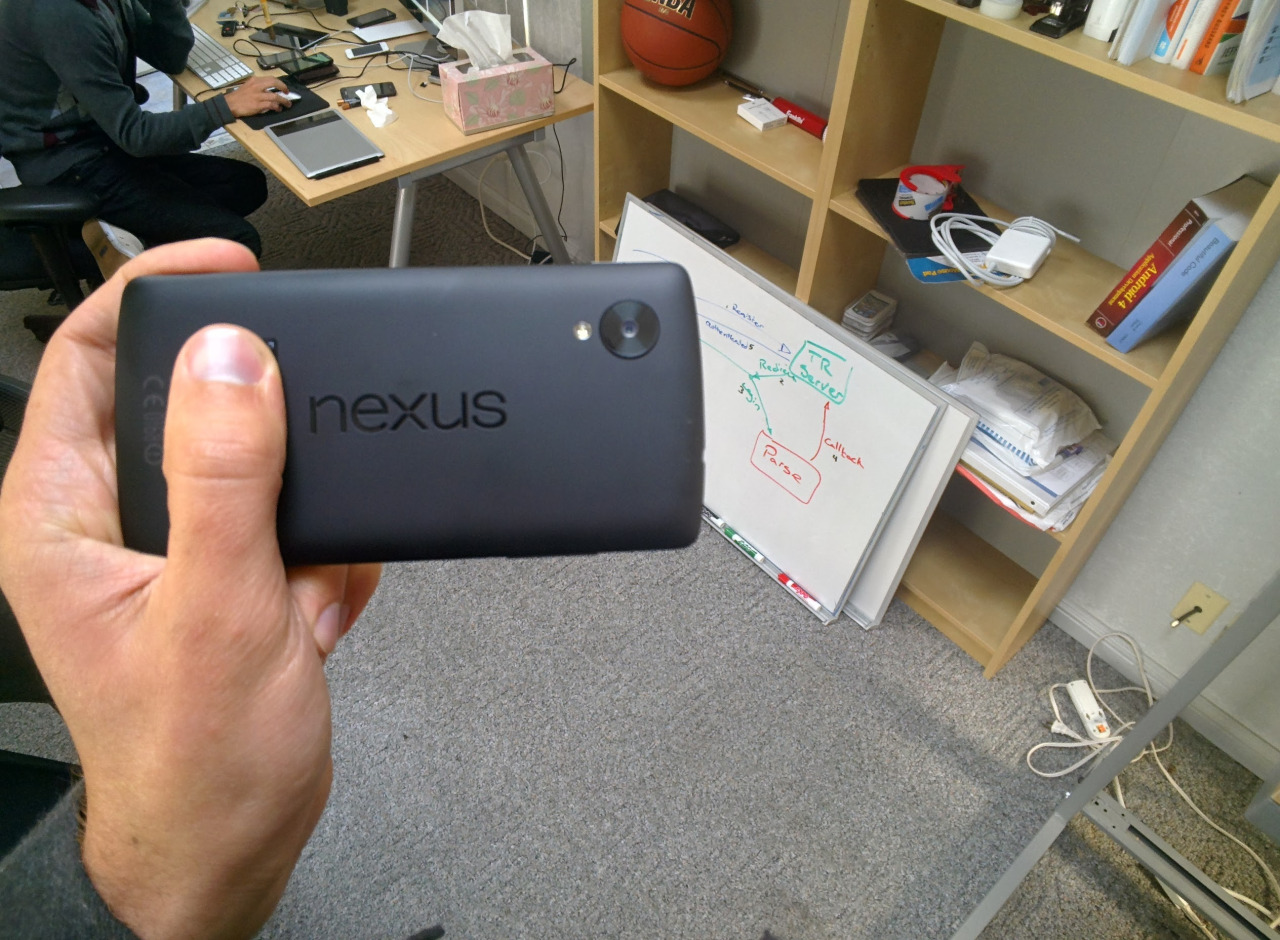
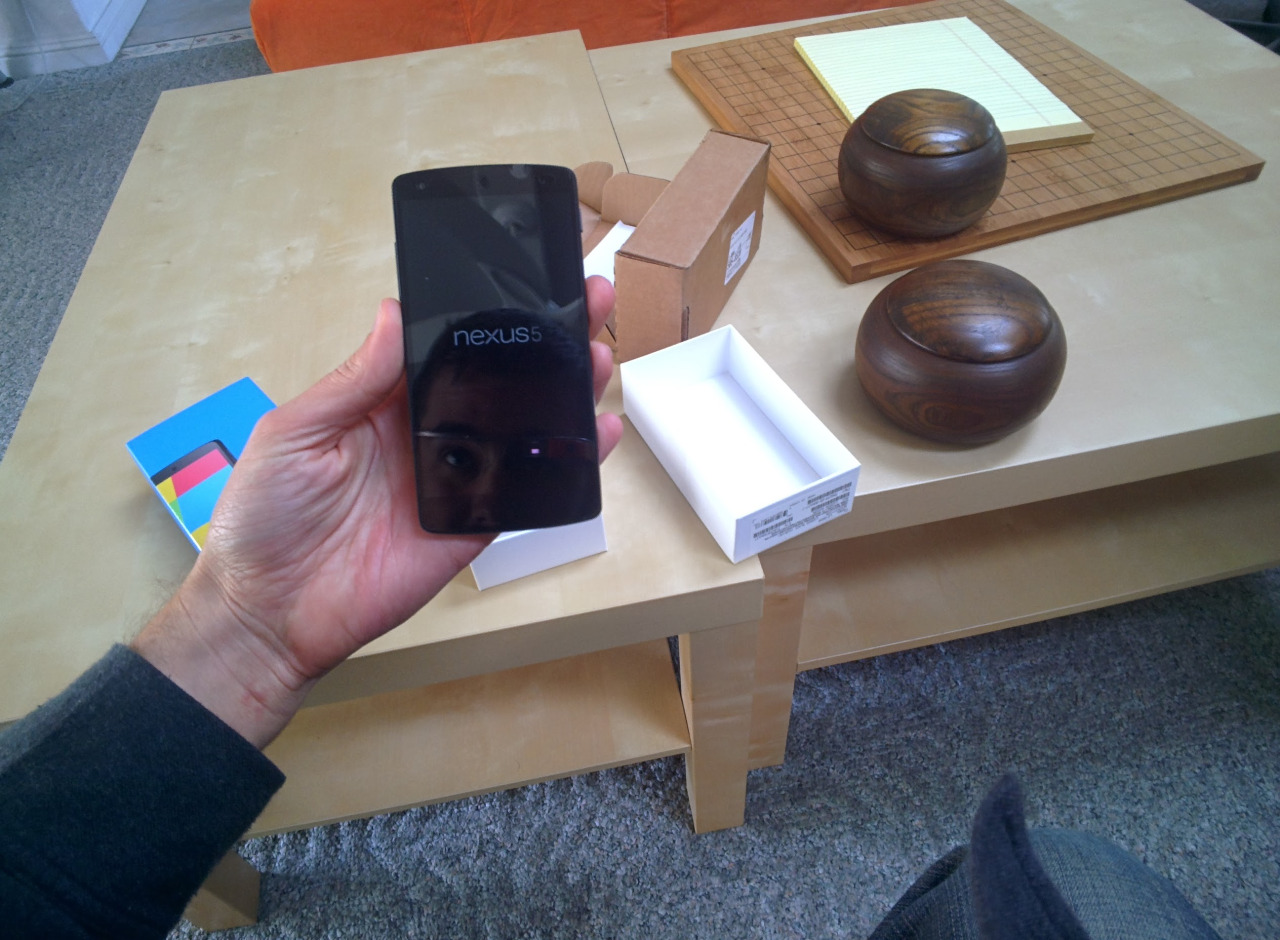
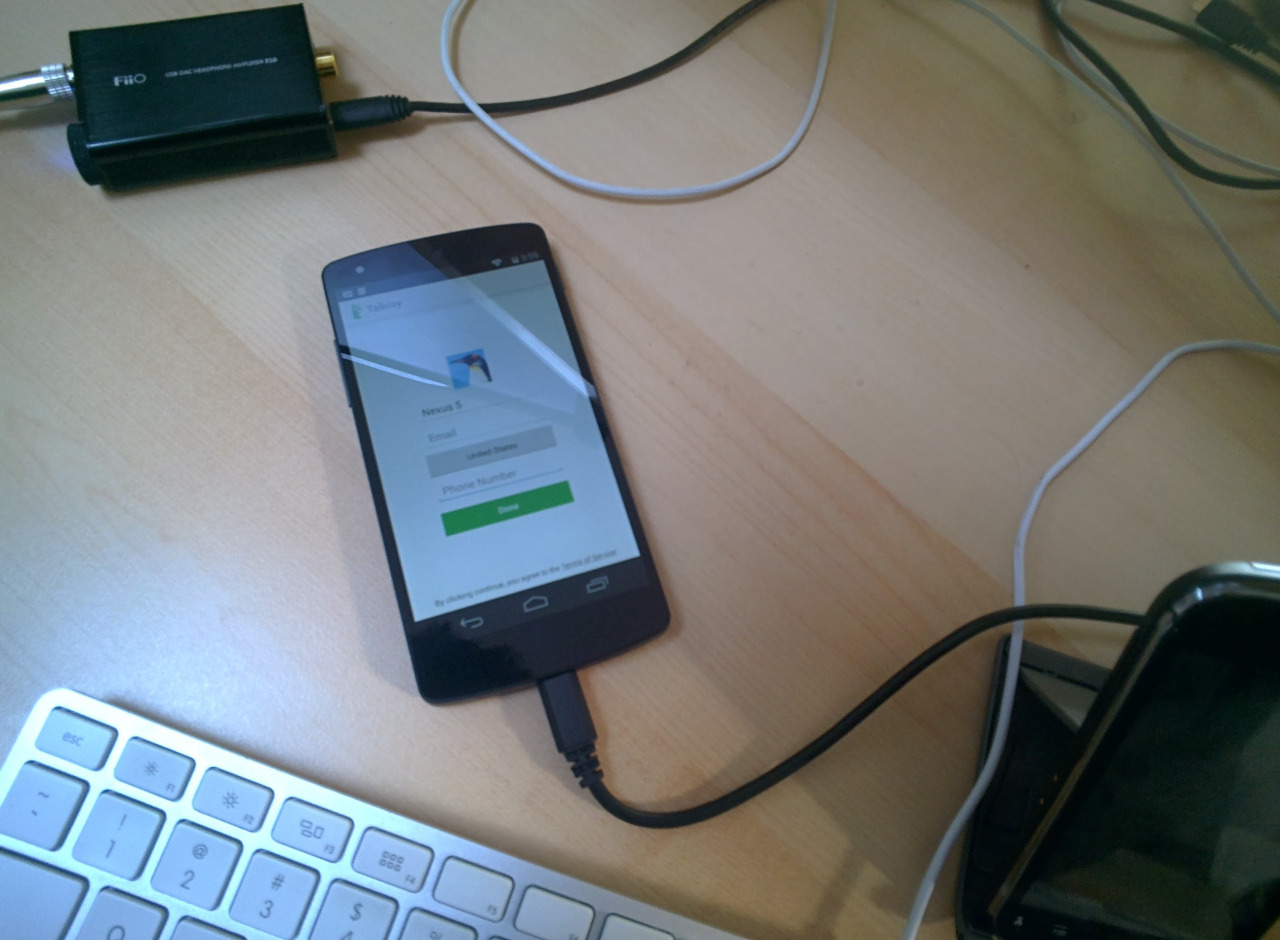
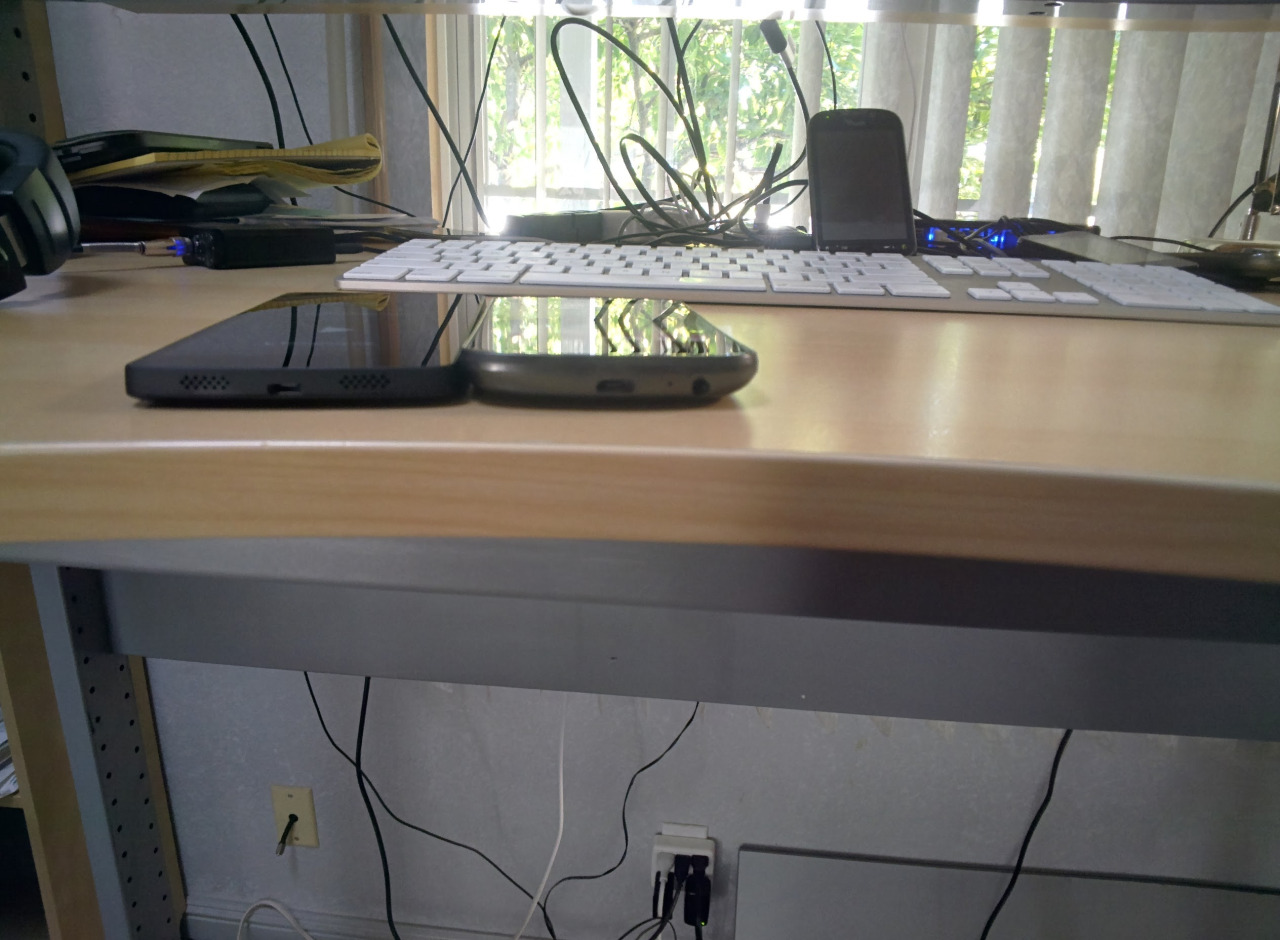
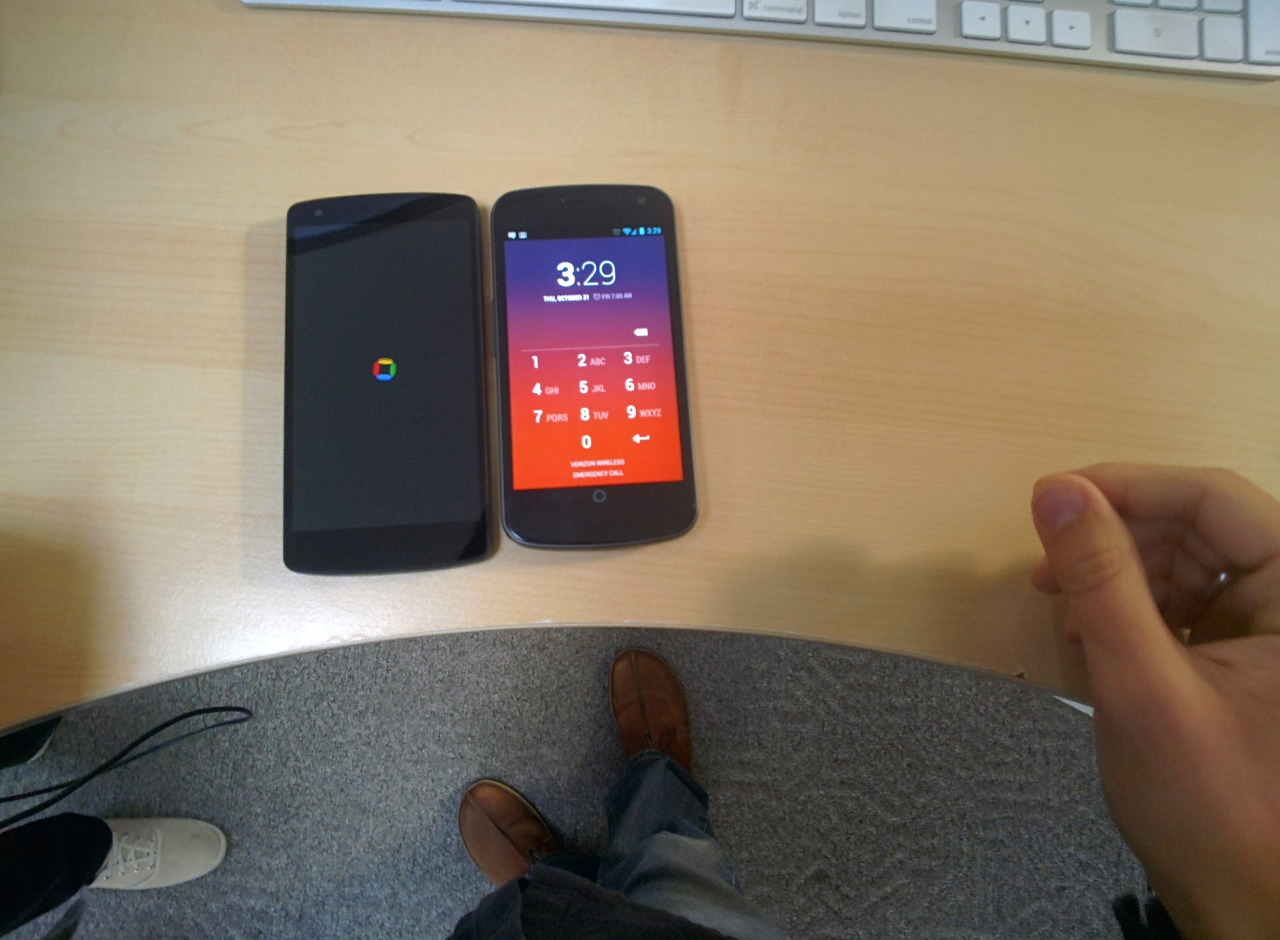
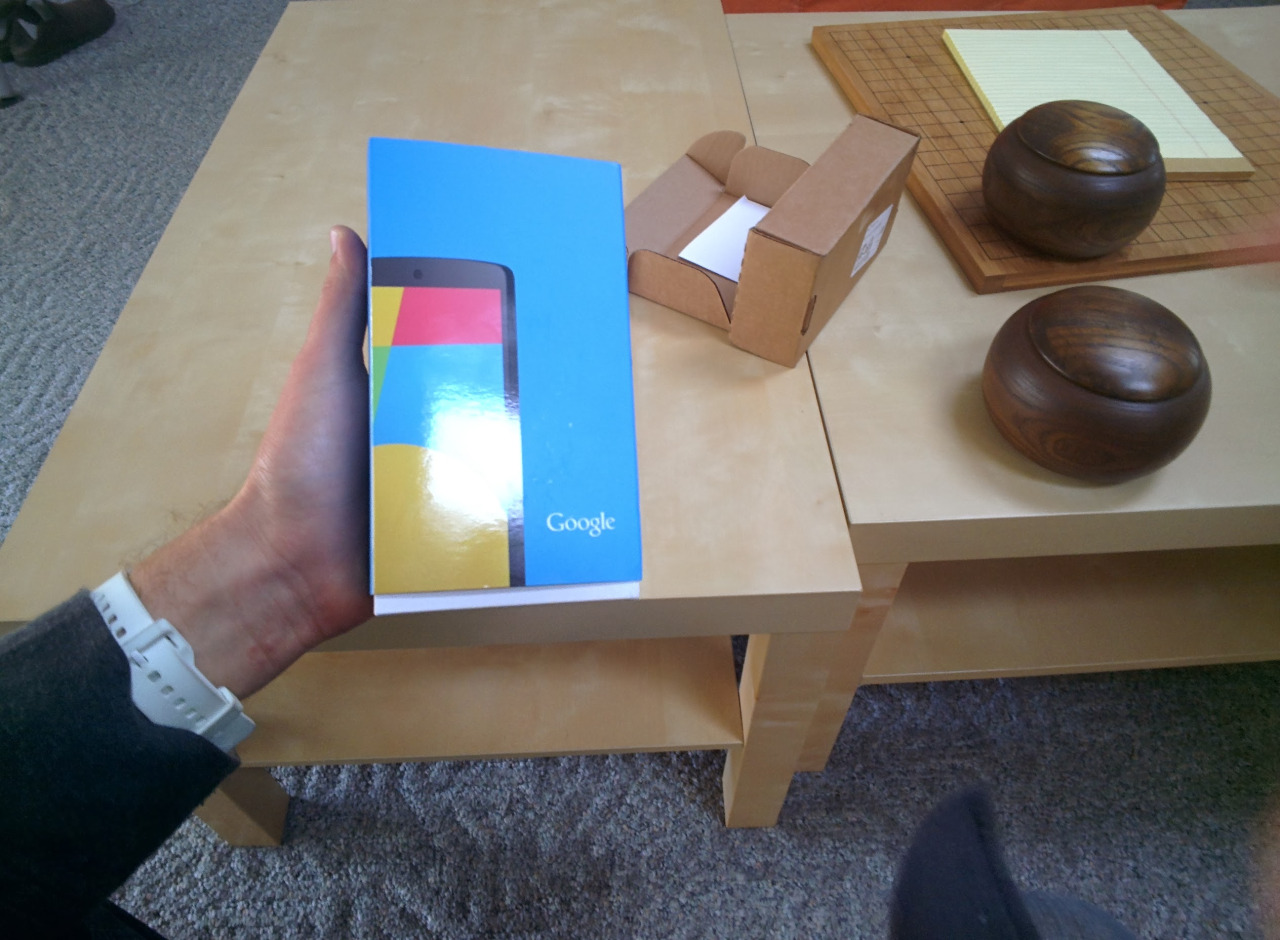
We got a special delivery here at the TiKL office today, a brand new Nexus 5. As soon as we opened it, we booted it up, and installed Talkray on it. It is a fantastic device.
Fun day at work!
python sweetness: How to lose $172,222 a second for 45 minutes
python sweetness: How to lose $172,222 a second for 45 minutes
http://pythonsweetness.tumblr.com/post/64740079543/how-to-lose-172-222-a-second-for-45-minutes
The actual loss was $465M, as opposed to $172,222. Regardless, it’s a good read.
This is probably the most painful bug report I’ve ever read, describing in glorious technicolor the steps leading to Knight Capital’s $465m trading loss due to a software bug that struck late last year, effectively bankrupting the company.
The tale has all the hallmarks of technical debt in a…
Connecting to a captive portal on Glass
Connecting to a captive portal on Glass
I figured out a work-around for wifi networks that have a specific type of captive portal. I’m actually at an Informal Glass Office Hours right now at the Hacker Dojo, who happen to have a captive portal. The Hacker Dojo’s wifi is set up such that you can connect to their network, then when you visit the Dojo’s web page, it redirects you to the captive portal, where all you need to do is click the ‘agree’ button. If your captive portal requires you to log in or type something, it won’t work.
If you happen to be at the Hacker Dojo, or a similar place where the captive portal is easy to reach, and only requires you to click an 'agree’ button, here are the steps to take:
- While tethered, or on your own connection, search for “hacker dojo”, make sure that the web page shows up in the results
- Connect to the wifi
- Visit the “hacker dojo” search results bundle, and open the hackerdojo.com card, then open webpage
- Scroll down to the 'agree and continue’ button, and click it
- …
- Profit!
Replace “hacker dojo” with whatever network you are trying to connect to. Some networks will redirect you from any page, so the initial search doesn’t matter as much. Hope this helps!
Update
The redirect should work for any non-HTTPS page. So, as long as you have a search result for an insecure page, you should be good to go. I didn’t realize that because Gmail, Google, G+ and Facebook are all HTTPS, and that’s where I usually start my browsing.