Using Cardboard With Unsupported VR Viewers
Using Cardboard with unsupported VR viewers
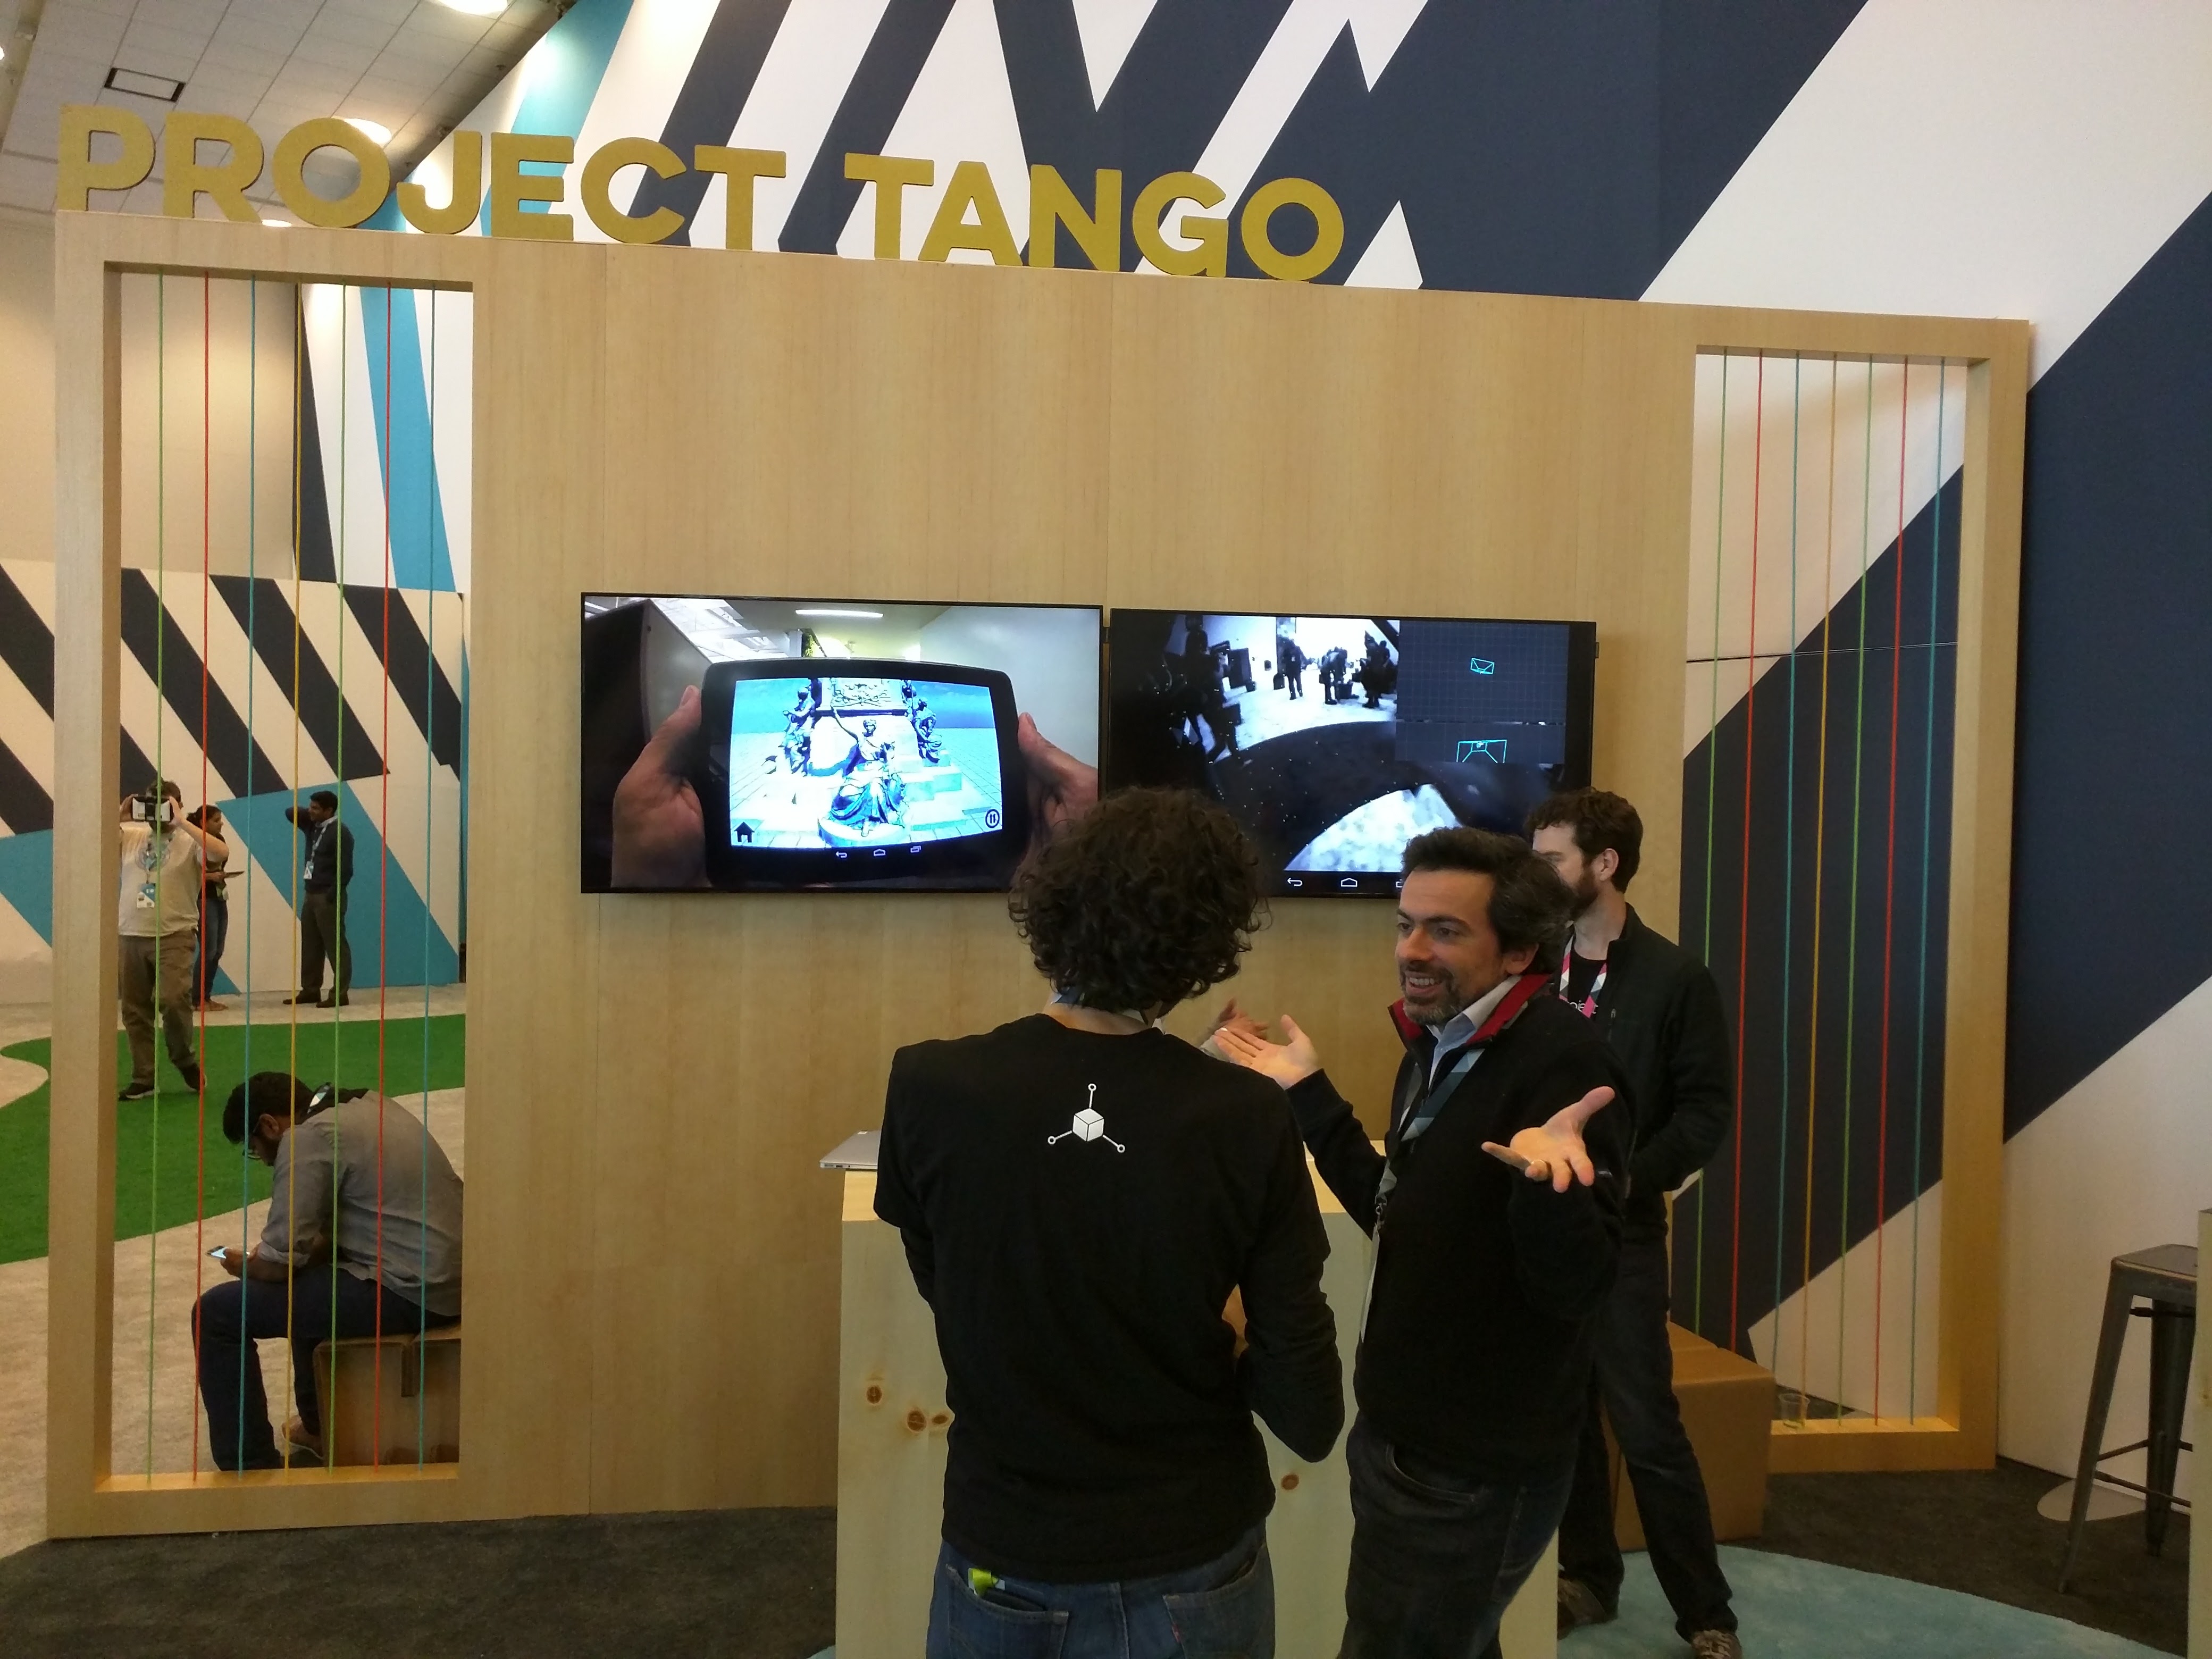
The Project Tango booth at Google I/O 2015
On Saturday, I was hanging out with some friends at the SFVR Project Tango Hackathon & VR Expo. The Tango team had handed out Tango devices and Durovis Dive 7 VR masks to develop with. I was feeling pretty dead from Google I/O, and the surrounding parties, but Etienne Caron and Dario Laverde were busy doing their best to build something on the Tango using the Cardboard SDK. They both fired up demos, and immediately found an issue. The screen was not configured correctly for the device, or the viewer.
Giant Cardboard hanging at Google I/O 2015
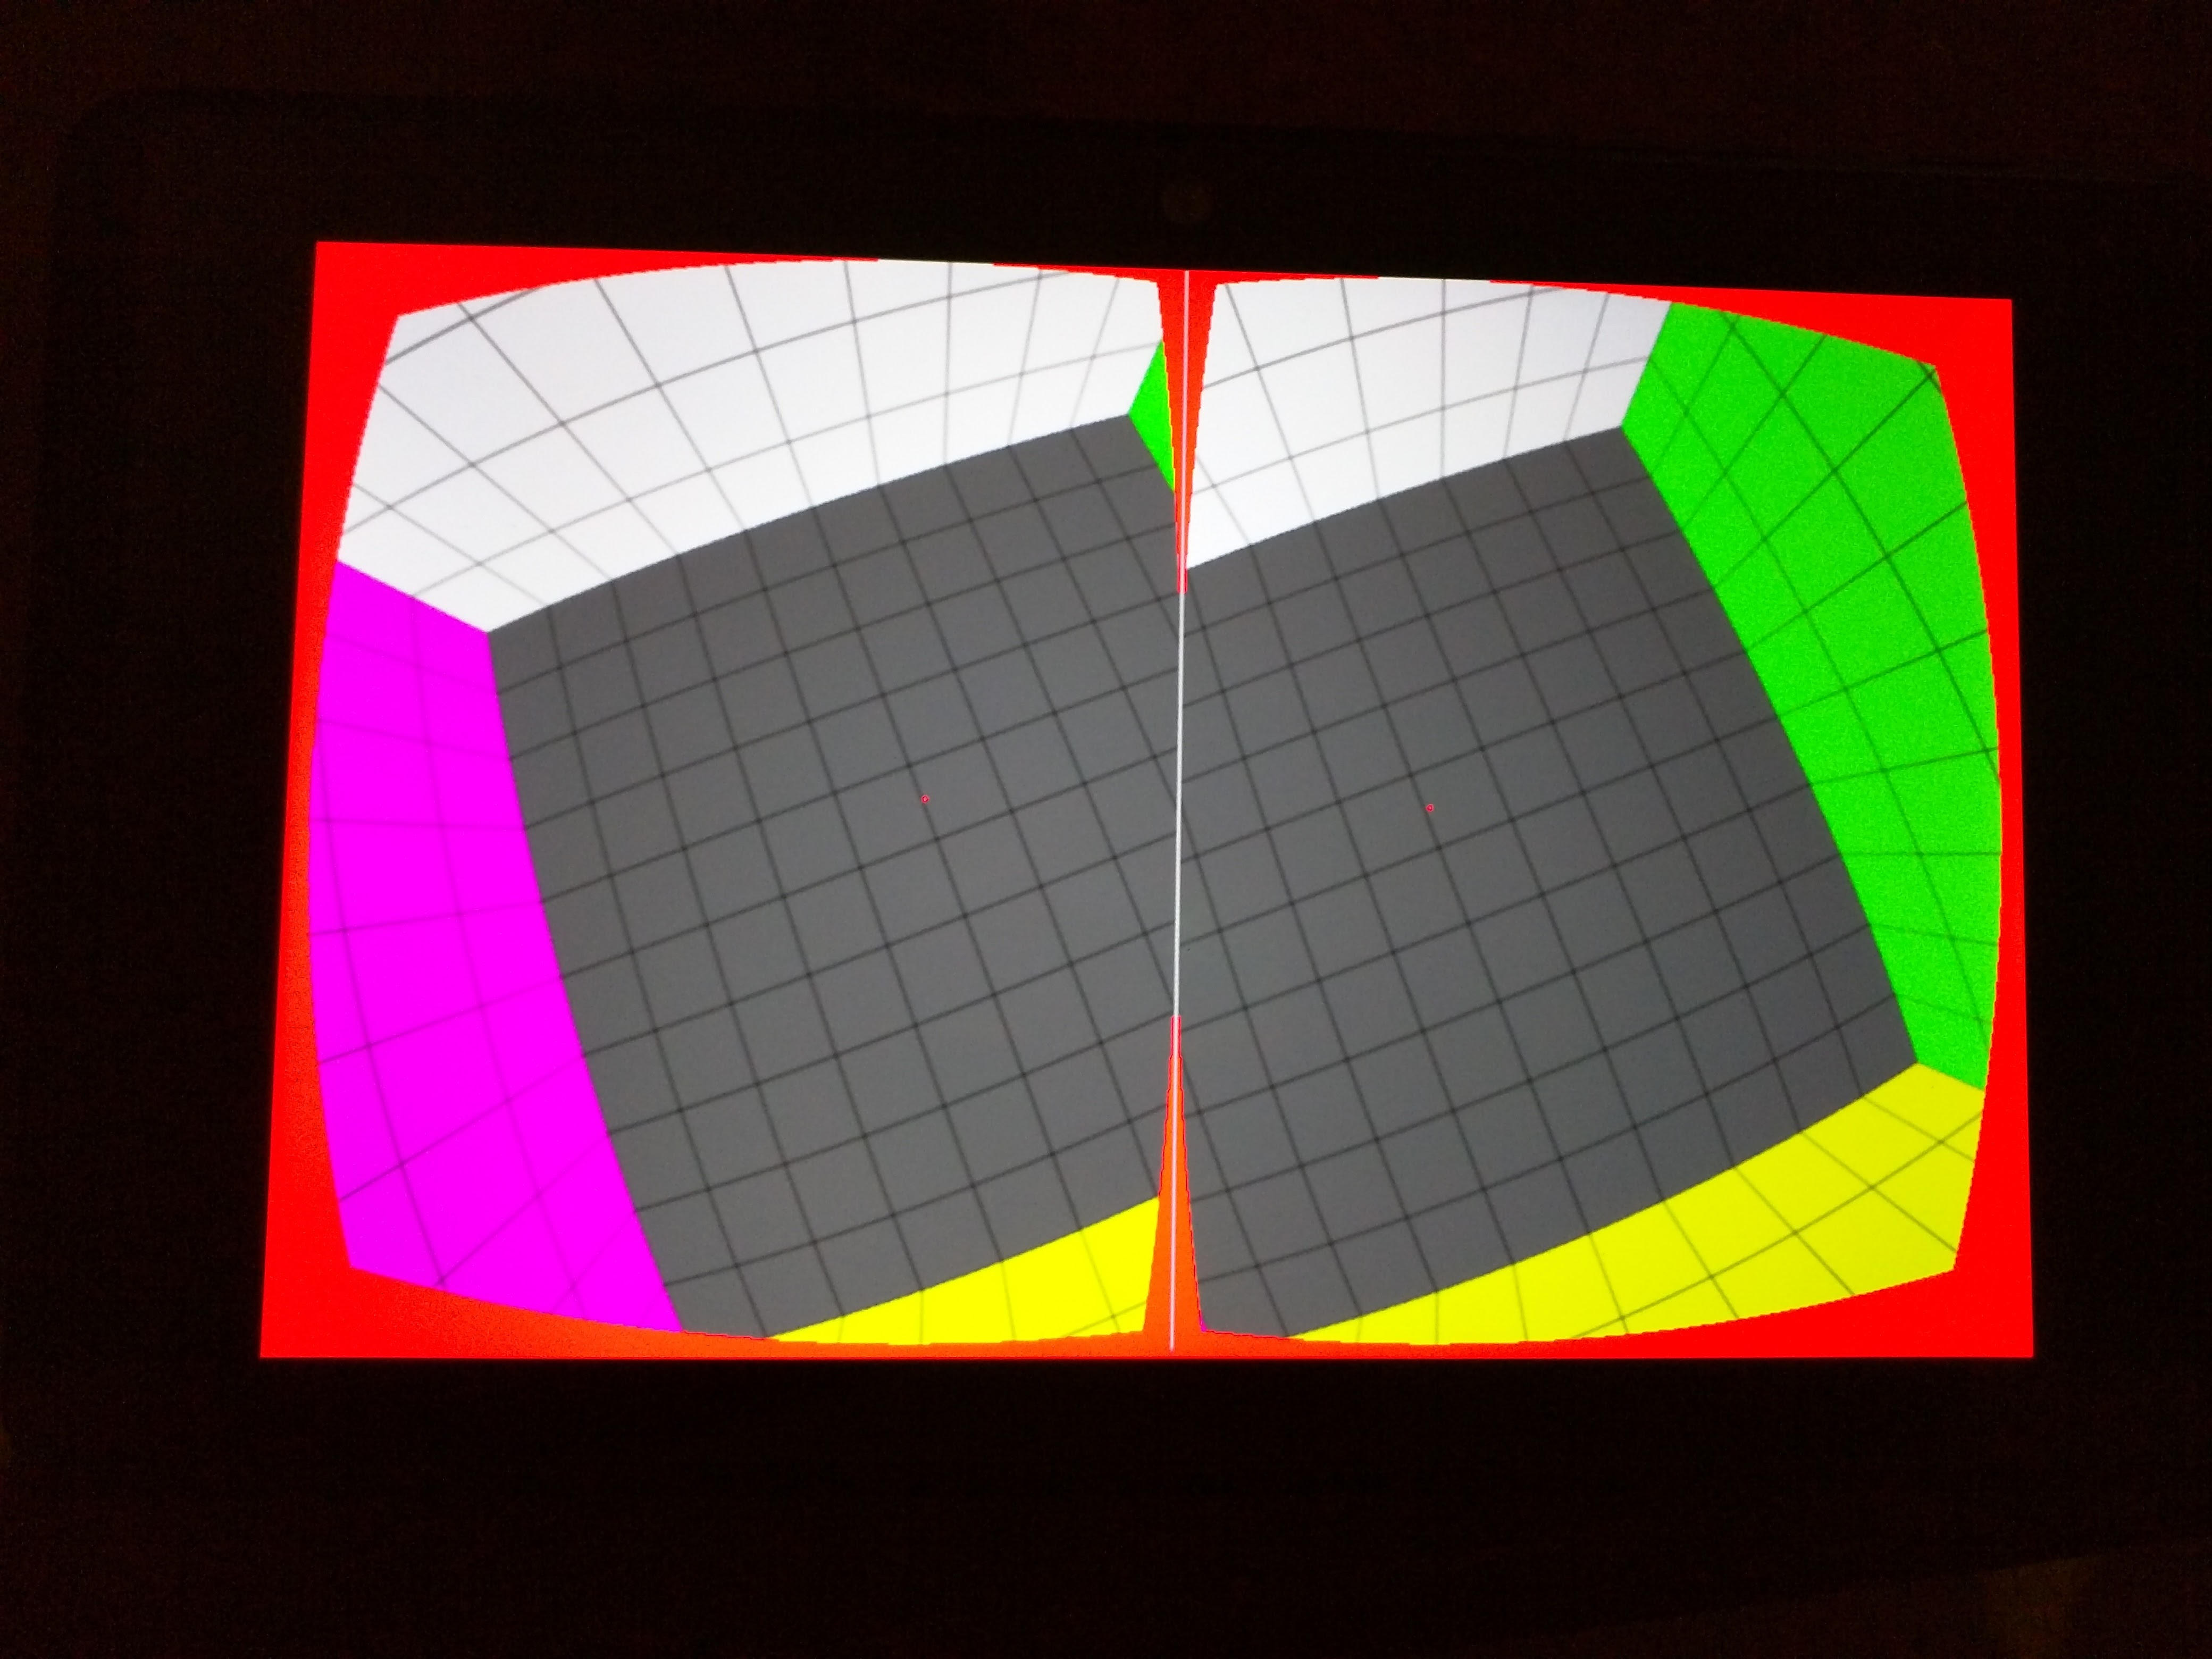
It turns out that Cardboard expects a configuration that is typically provided by the manufacturer of the viewer, but the Dive doesn’t come with one. Etienne noticed that there was nothing documented in the Cardboard API that related to screen or viewer configs. He and I started to poke at the debugger, trying to figure out if we could find the place that those values get set. We traced it back to a file on the sdcard, but when we looked at it, we realized that it was in serialized protobuf format. My initial thought was to copy the files that read the protobuf and decode the file, but we realized that there was an easier way, the Cardboard View Profile Generator.
Etienne and I generated config files, and Dario helped us test. Dario was also working on some other Cardboard related issues. Here’s what we did:
- Visit the View Profile Generator from Chrome on a computer that’s not the tablet you’re trying to configure.
- On the tablet, in Chrome, visit the shortlink shown on the main page.
- On the tablet, if your instance doesn’t go full screen all the way (if you can see the nav bars), install GMD Full Screen Immersive Mode from the Play Store.
- Install the phone/tablet in the viewer.
- Back on the computer, hit ‘Continue’.
- Using the tool, you can dynamically configure the view settings. The tablet screen is synced up with the tool, so the changes should appear on the tablet in real time. (It uses Firebase!)

- Follow the instructions on each field, and watch the changes on the screen. You can tweak them until you have something that looks good to you. Here’s the config that I generated.
- Next, you should be able to generate your profile.
- In your Cardboard app, you should be able to scan the QR code in the setup step of Cardboard, or go to Settings.
- If you’re on the Tango, you will need to go through one extra step, the camera that attempts to scan the QR code doesn’t work right, so you will need to use a second device.
- After scanning from the second device, plug it into a computer with
adbinstalled, and run the following command: adb pull /sdcard/Cardboard/current_device_params ./ - Then, plug your tablet in, and push the config that you generated: adb push current_device_params /sdcard/Cardboard/current_device_params
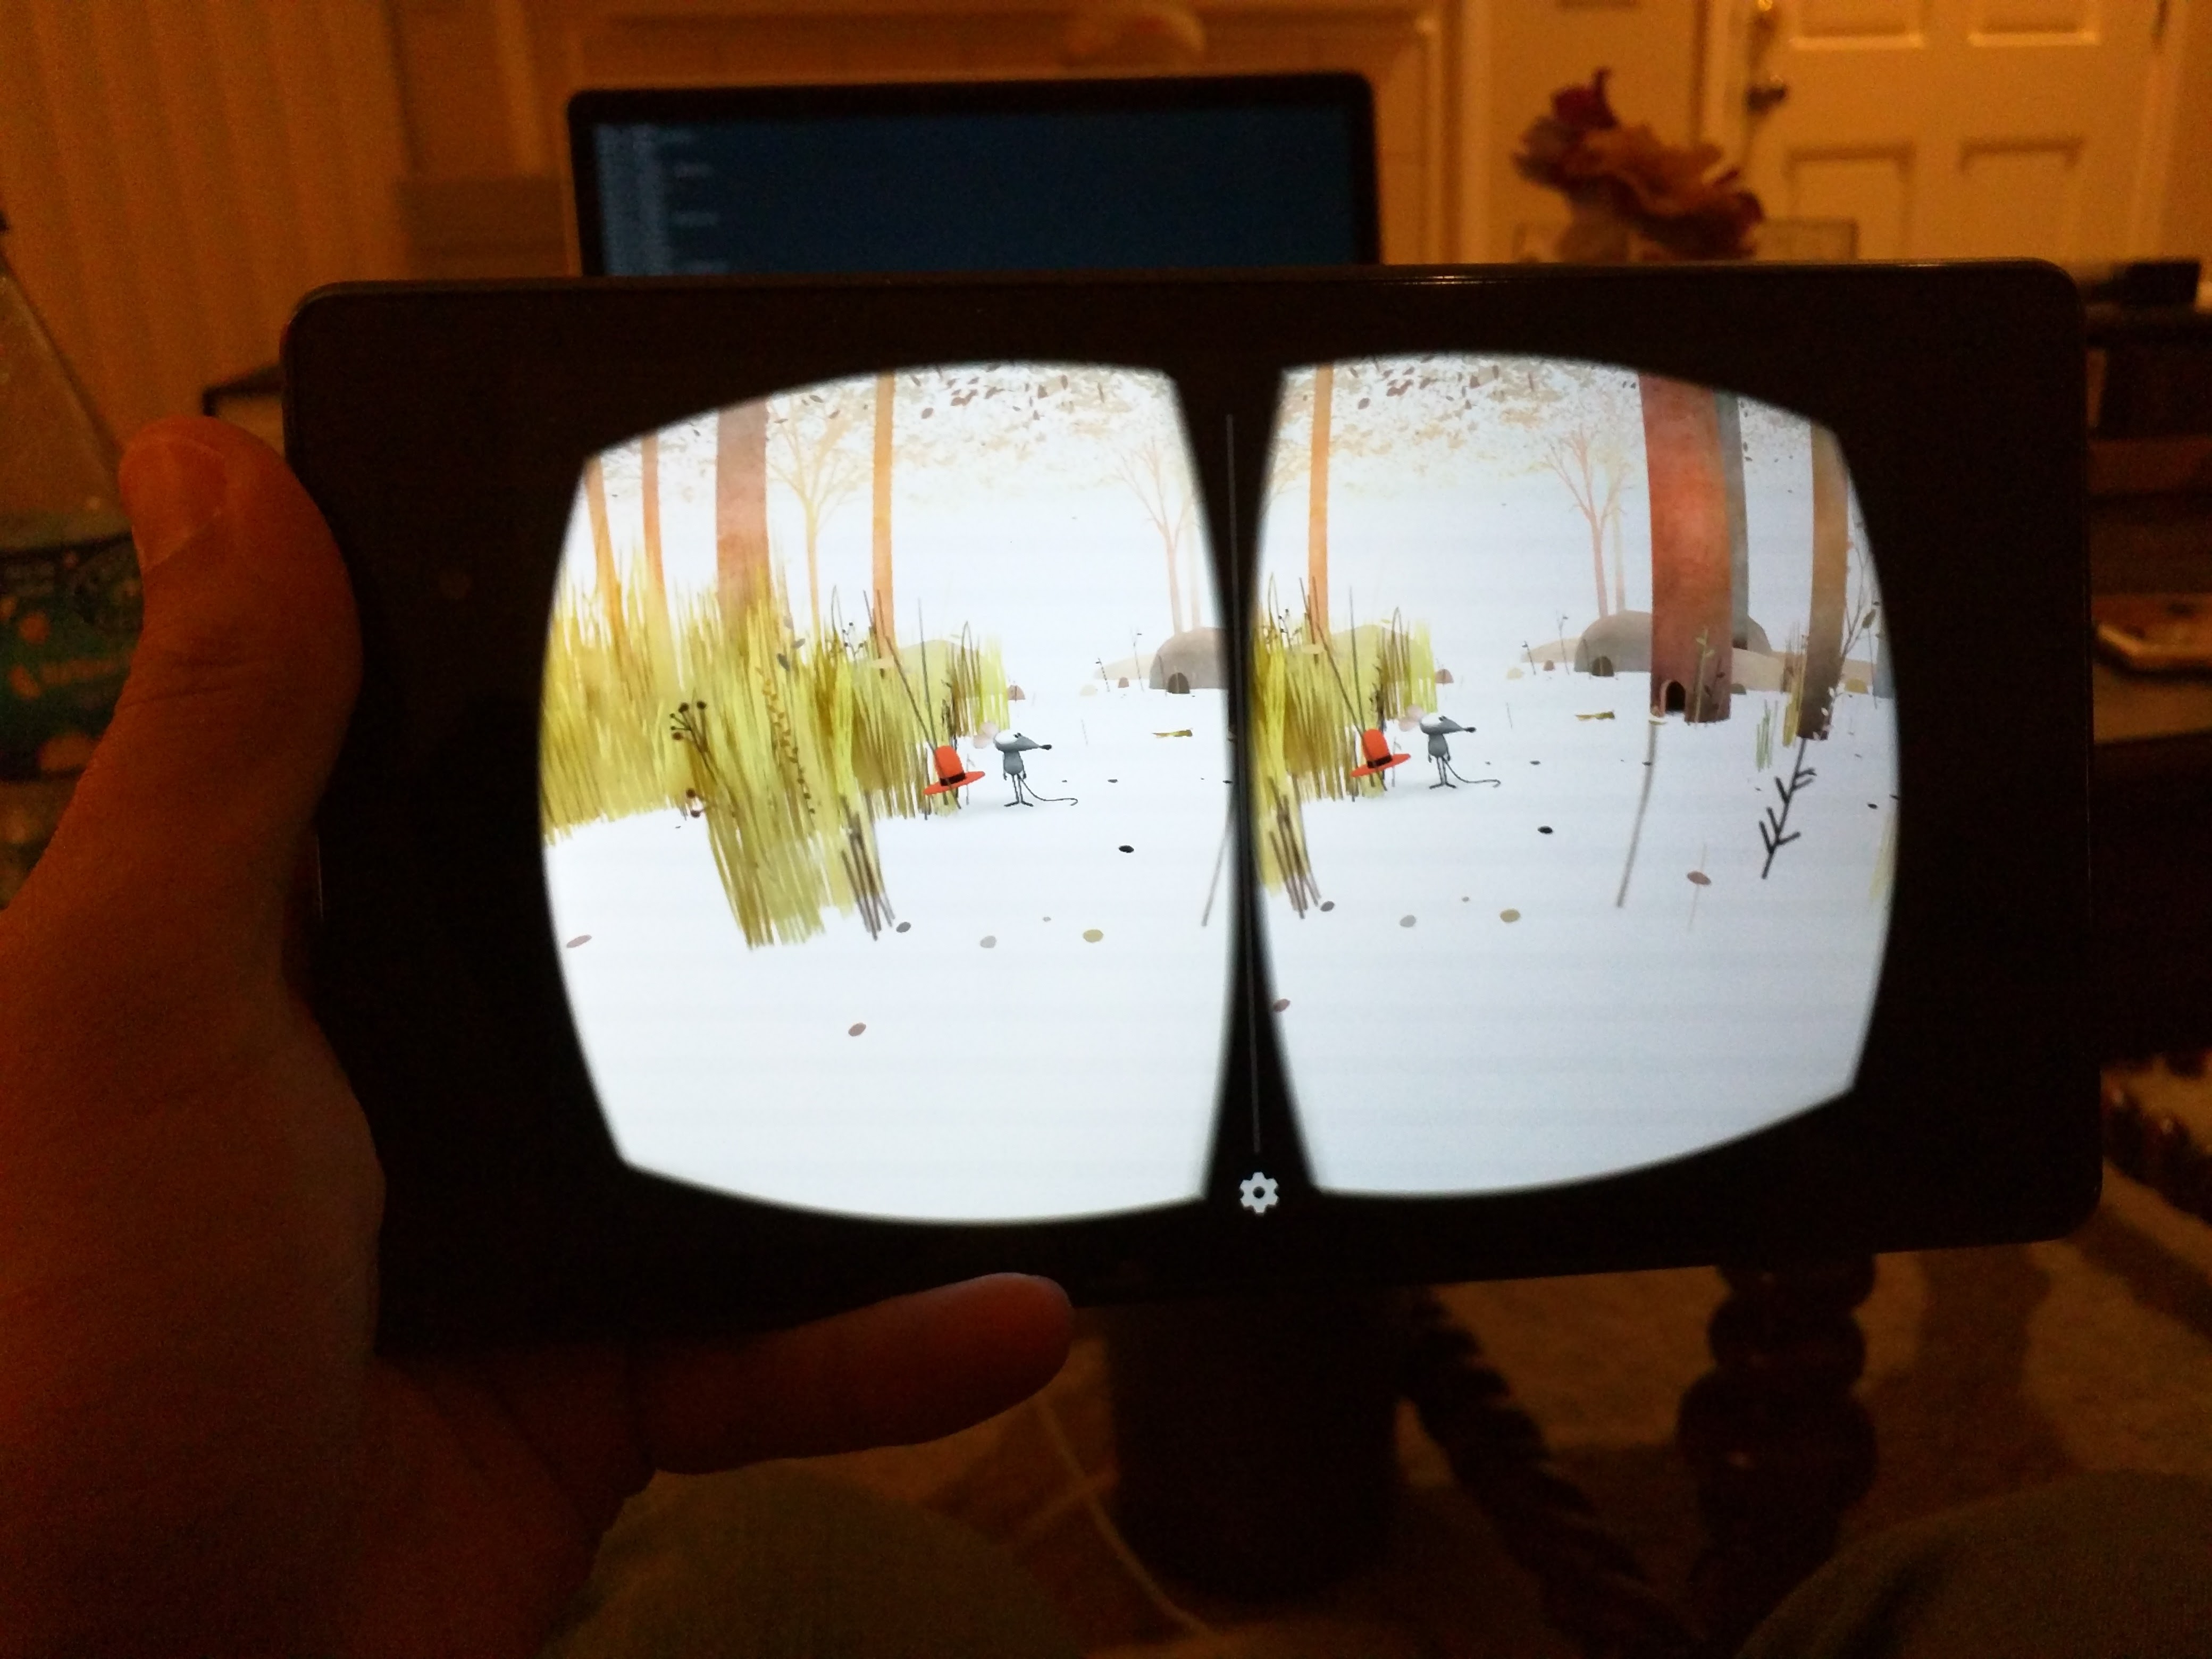
- Fire up the Cardboard app on your tablet and check it out!
- If it needs tweaking, just repeat steps 6-12.