Roasting With Roastmaster and a BlueTherm Duo
I’ve been roasting coffee for 7 or 8 years. In that time, I’ve learned how to roast a great batch of beans that will make excellent, and easy to drink espresso. This tends to live somewhere between City+ and Full City+, usually right at Full City. Now, this is great, and I love the coffee that I roast, but I have realized that I haven’t really nailed the lighter roasts yet, specifically, roasting an excellent batch to City, where the bean is fully developed and has a rounded flavor.
The other thing that’s going on right now, is that I’m waiting for a new roaster setup, which is currently being built. The new setup is a BBQ top 5lb roaster from Coffee Roasters Club. The new roaster is going to be entirely manual, where I’ll completely control both the heat and time. Additionally, controlling the heat exactly is going to be tricky, since it’ll be done on the grill.
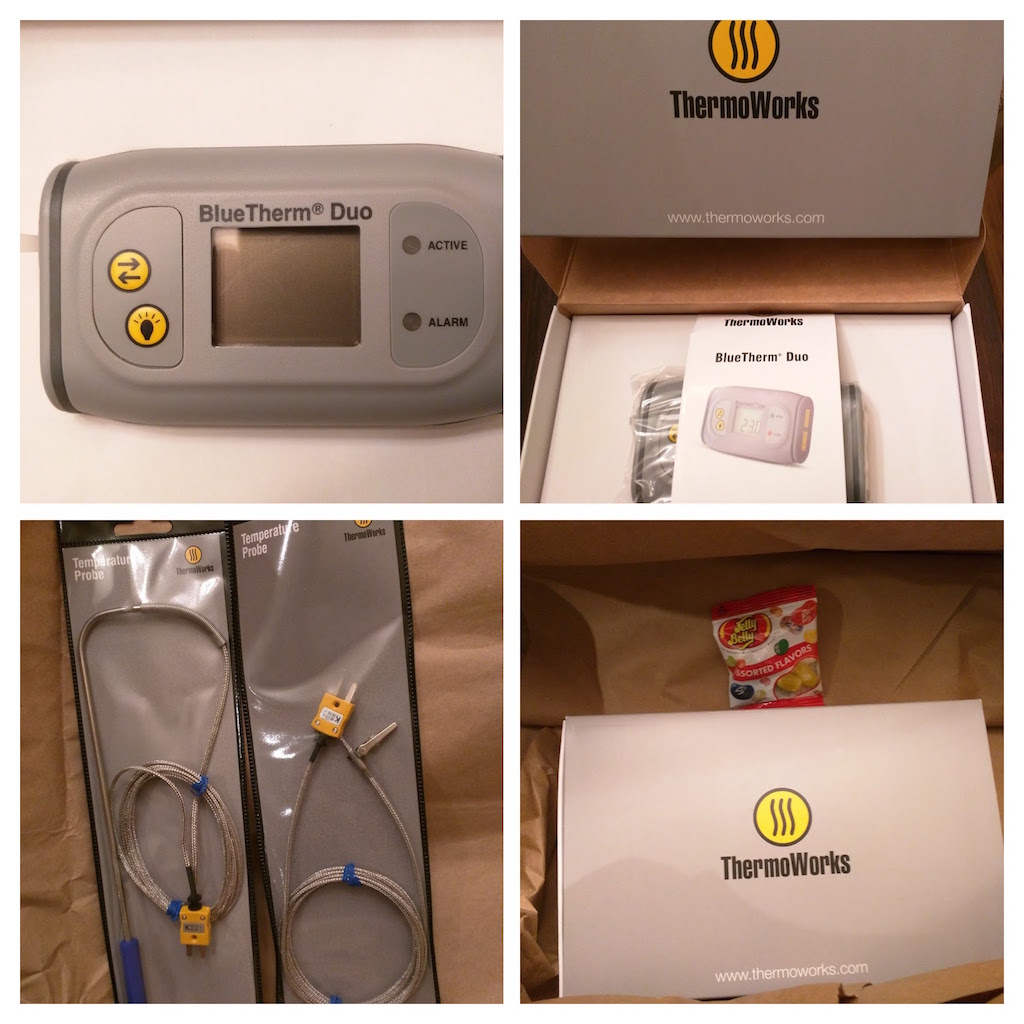
With the new setup, I needed some new tools. First, I knew that I would need some way to grab temperature data, and preferably to log it. There’s an app that a friend told me about called “Roastmaster”, which helps you manage just about everything involved with coffee roasting, and has an option to do data logging. I checked out which data loggers were supported, and found that the BlueTherm Duo looked like what I wanted. (I was looking for something bluetooth, with two probes, that could handle the heat.)
My BlueTherm came in the other day, and last night was time to roast some coffee.

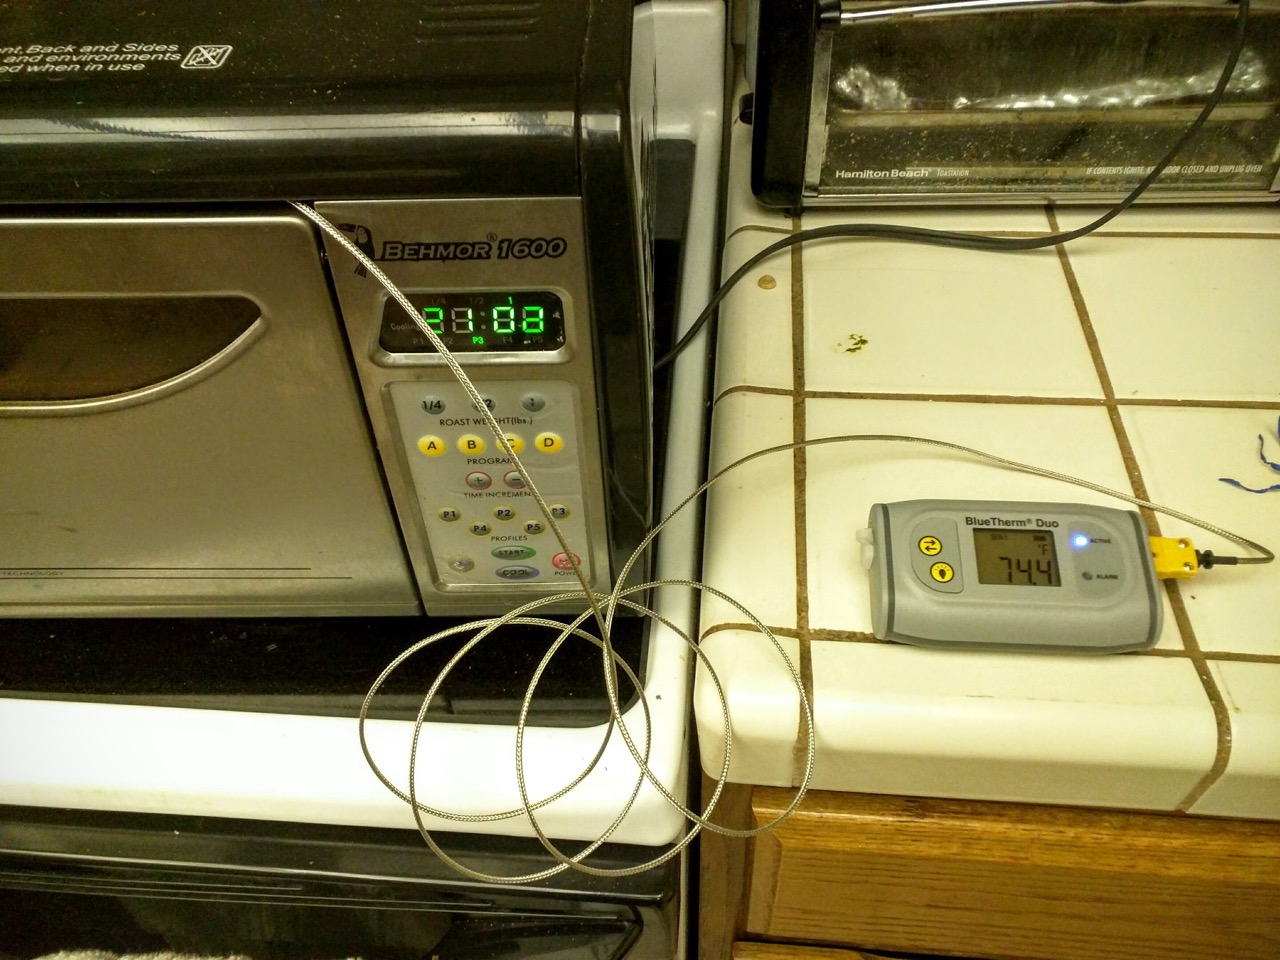
Getting the BlueTherm set up was as easy as turning it on and plugging one of the thermocouples in. I opened the Settings on my iPad, and paired it with Bluetooth quickly enough. Getting it connected in the Roastmaster app was a little unintuitive, but it worked. Luckily, Roastmaster has excellent documentation, which I would suggest having a look at.

Now it was time to place the thermocouple. If you see the the two thermocouple leads in the BlueTherm photo you’ll notice that one has an alligator clip, and the other is a probe that you’d stick into something like a steak. The alligator clip one is the more useful one here. I clipped the clip onto the downward facing vertical part of the chaff tray, next to the drum. I maybe could’ve gotten it underneath the drum, I’ll look up ideal placement next time around. The lead wire is fairly thick, but I was able to let it out in the upper right corner of the roaster door, which allowed me to still close the door. All good.
I plugged things in, and got a roast ready to go, both with my roaster, and in the Roastmaster app. After the thermocouple was all set, and everything ready to go, I fired things up, and let it run.

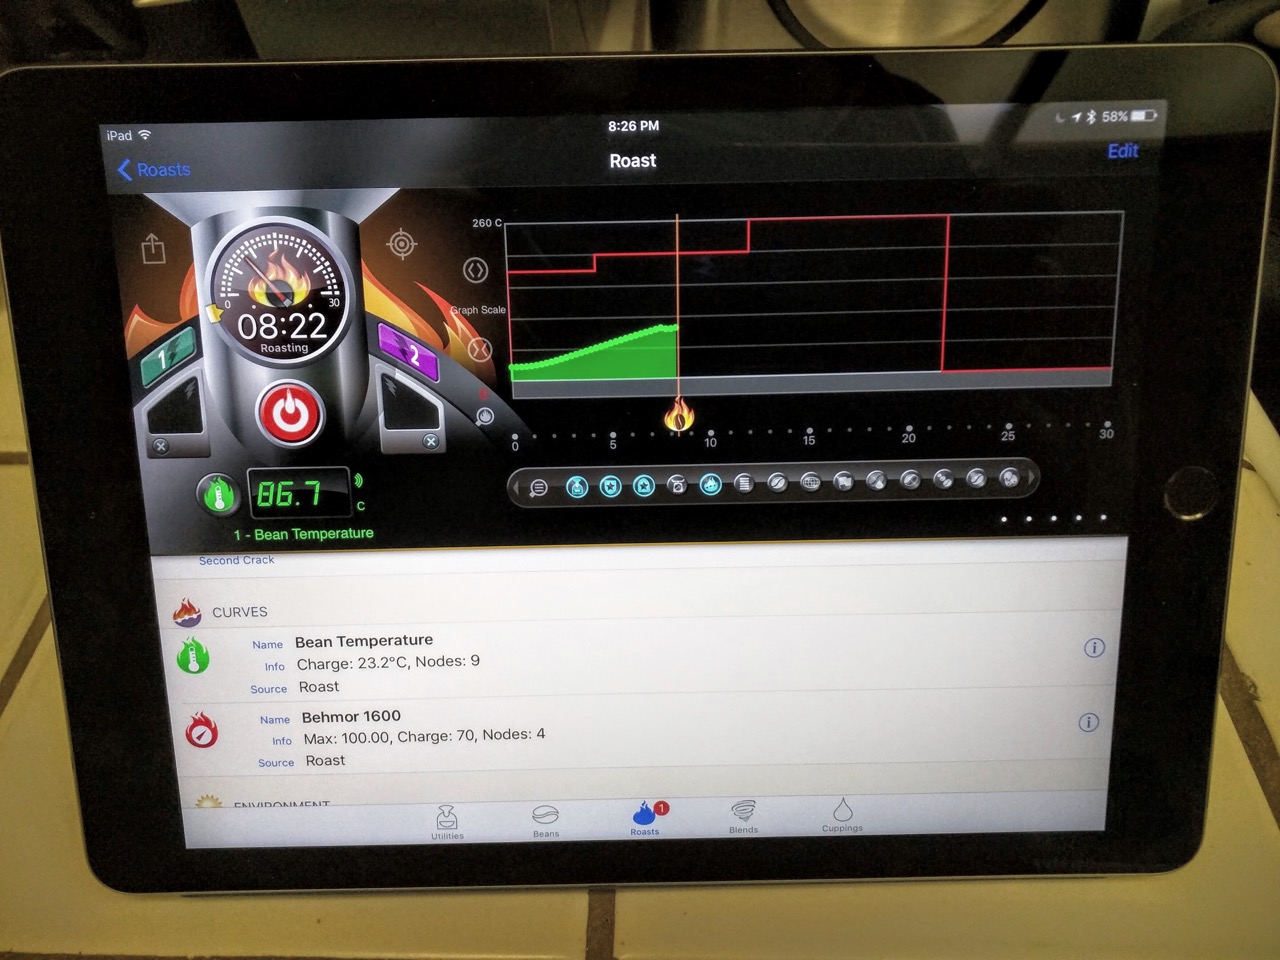
Getting good readings, and things are logging correctly. Yay!
In the app, there are buttons to record the first and second cracks. The app itself is fairly complicated, and there’s definitely a learning curve involved. That said, it’s an extremely useful tool, and I think that it will be indispensable to me going forward.
Something that I thought was interesting while I was roasting was that I could see how much heat was lost whenever I opened up the door to check on the progress. It’s funny, but it had never really occurred to me before that opening the door for a couple of seconds would have that much of an impact on the roast, but when I was logging the temperature data, it was clear that it dropped significantly, and took a bit of time to climb back up.
Another interesting finding was that opening the door during the Behmor’s cooling cycle does not cool it down faster than leaving the door closed (though it does make more of a mess). This seems counterintuitive, but I think that it was designed to get a lot of airflow, assuming the door was closed. It’s similar to a PC case that has been designed to maximize airflow through the components, opening up the case door does not make it cooler, it just screws up the airflow.
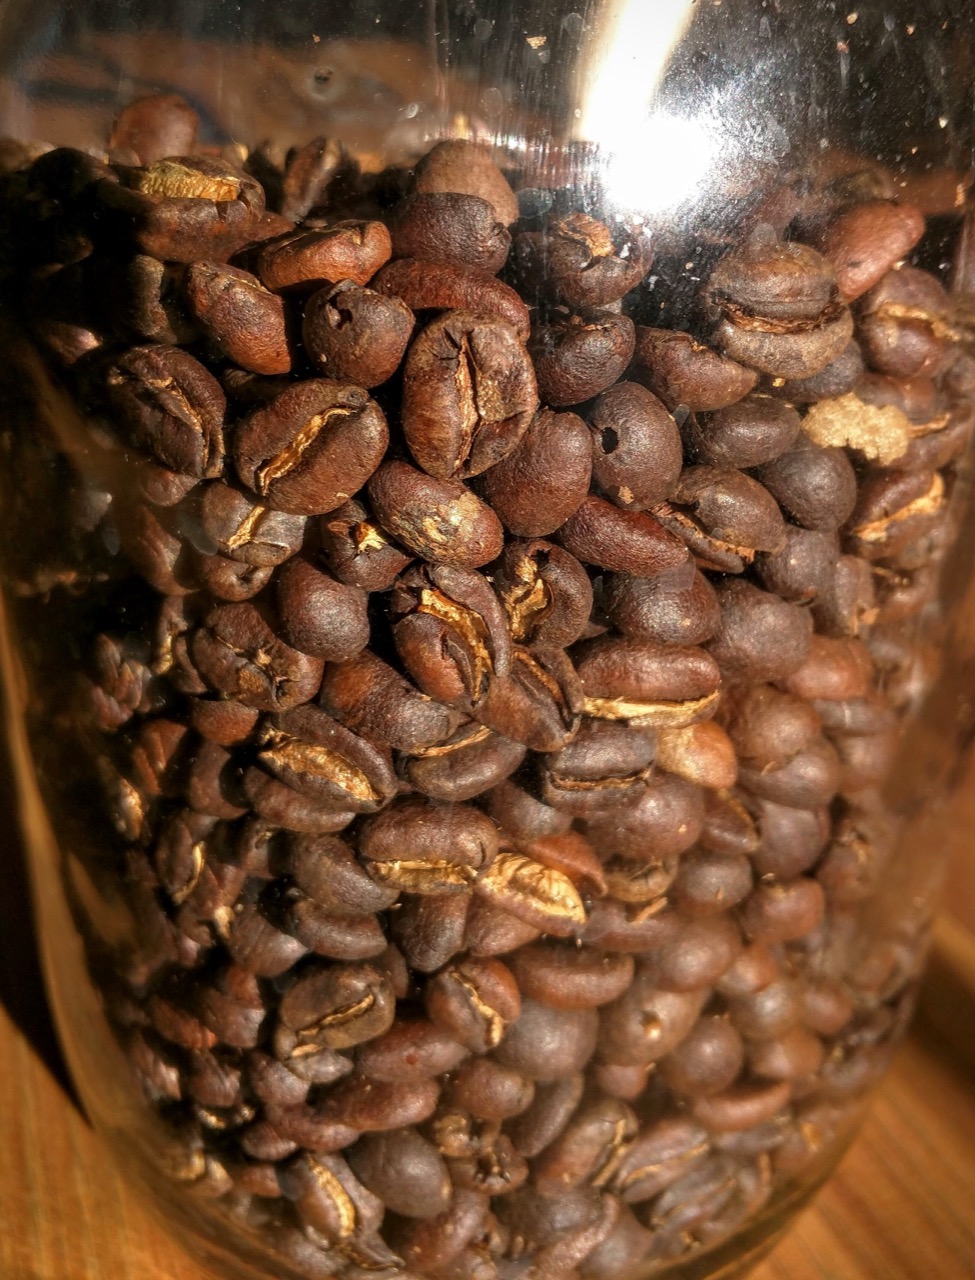
Here’s the finished product, something right around City+.

I pulled a couple shots of espresso this morning with it, and it was OK. I reviewed it with the Angel’s Cup app.
For me, working with the Behmor is still pretty tricky, but I would really like to learn how to improve on that machine before my new equipment comes next month. Going to a fully manual setup is a little daunting, and I’d like to use this last month to really push the Behmor and see what I can get out of it.