How to Launch an Activity (Android Intents Part 1)
This is the first post in a series about sharing information between apps. It will start with the basics, and move on to discuss how we might leverage this to do some interesting things. Additionally, I’ll be providing videos that cover the text contents of these posts (plus insightful things), so if you want to watch instead of read, check out the video below:
Apologies for the quality of the video. I’m just starting out, and hoping that I’ll be able to get better at this. However, I don’t want to let my lack of skill and inexperience prevent me from moving forward.
Series Table of Contents
Follow the series on the Table of Contents page.
Sharing in Android
In Android, information is shared between apps in few different ways, there’s local files stored in the shared storage area of the device, then there are Content Providers, and Intents. Using local files as information sharing seems pretty hacky, and is wide open for attack, so I’m not going to discuss that. Content Providers are interesting, but this series is going to be discussing Intents. If this goes well, maybe I’ll circle back and cover Content Providers.
I’m going to note the official documentation on sharing right here:
Great, now that that’s out of the way, we can get started.
Prerequisites
You’ll need to have your Android development environment all set up. Here’s a post from Google on setting up your environment. Or, in video form below:
Launch an Activity
Let’s say that you want to open one Activity from another Activity, you’d use an intent like the following:
startActivity(new Intent(this, ActivityTwo.class));
In this example, the ‘information’ that you’re sharing is simply that you’d like ActivityTwo to appear on top of ActivityOne. If you’d like to see a fully working example of this, check this tag on GitHub.
(Quick side-note here, if you want to check out the repository at this step, first check out the repo, then run the following command: git checkout -b step1 step1. That will get you a branch at the step1 tag.)
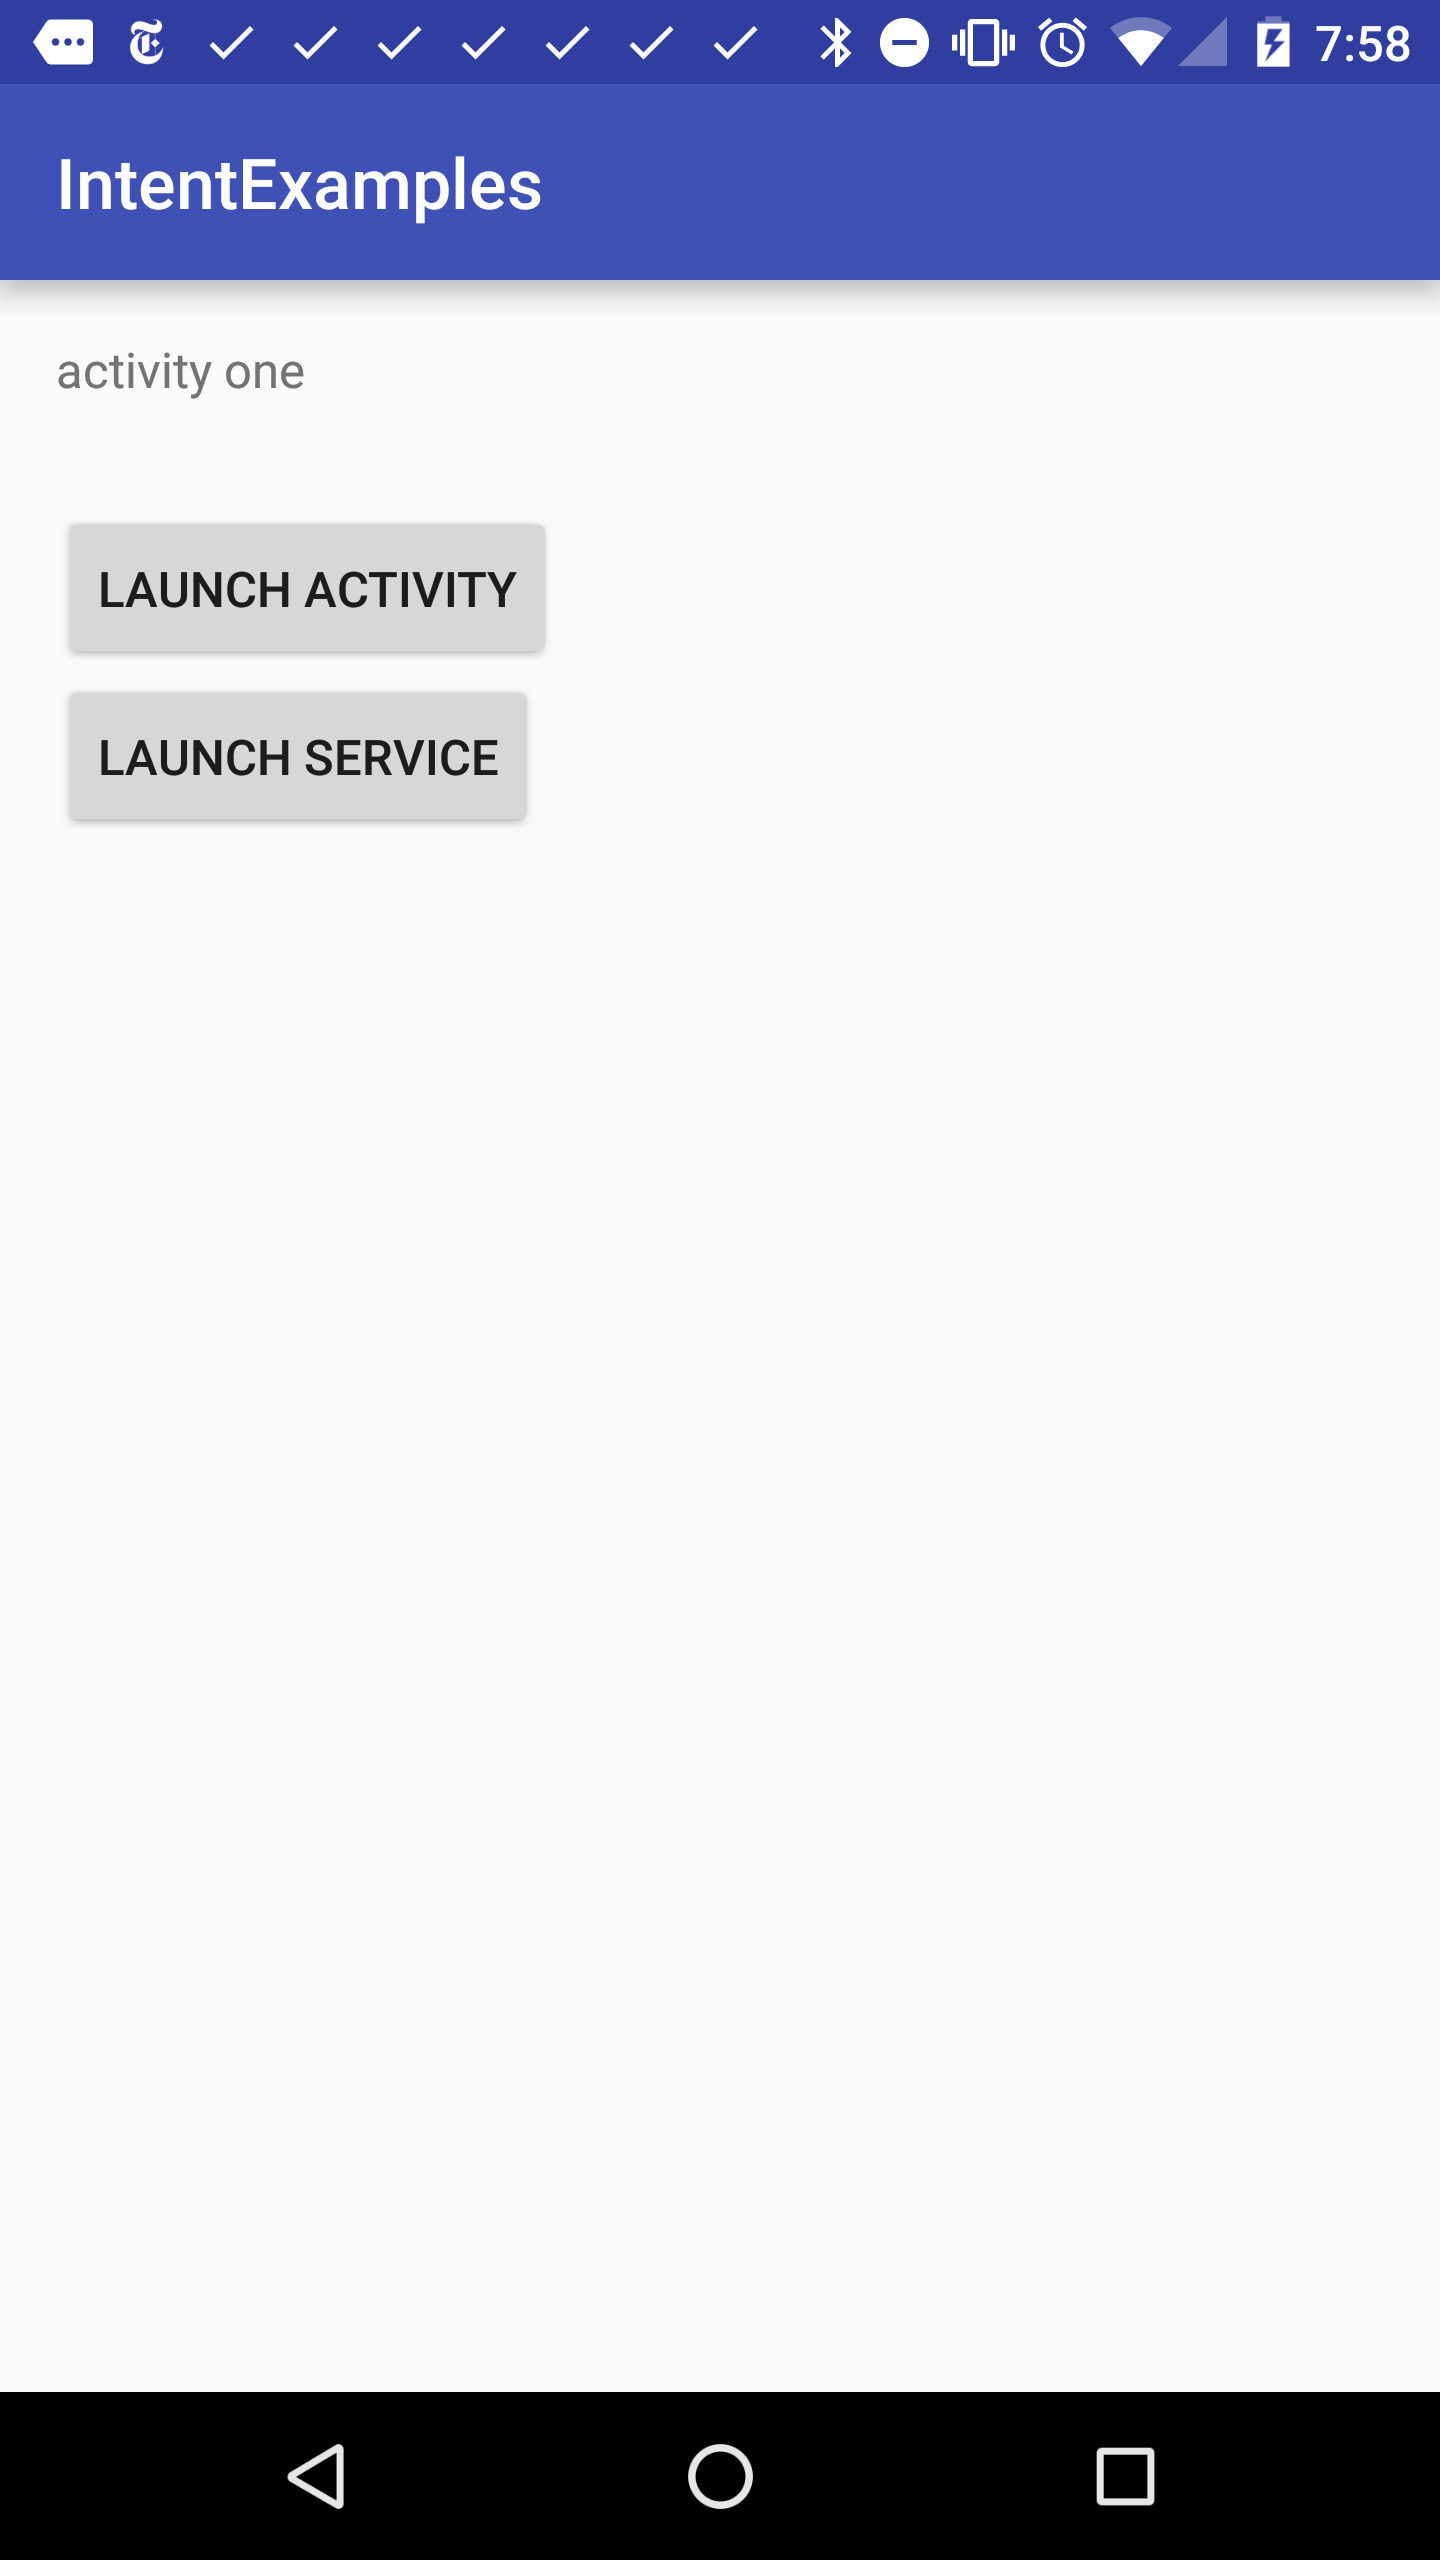
That’s really it for the first example. You can run it on your device, and should see something like the following:


In the above example, the ‘LAUNCH INTENT’ button runs the startActivity code described above to launch the second activity.
Launch an Activity with Extras
Next, let’s extend the first example, and add a button to ActivityTwo that points back at ActivityOne. However, instead of just launching ActivityOne, we’ll send back some data along with it, that ActivityOne will display. Here’s the tag on GitHub for this state. ( git checkout -b step2 step2 )
This time, we’ll set an extra on the intent:
Intent intent = new Intent(this, ActivityOne.class);
intent.putExtra("EXTRA_CONTENT", "saw ActivityTwo");
startActivity(intent);
ActivityOne will need to check for the intent extra and then do something with it. Here’s how it looks now:


Start a Service
First, let’s add a button to the Activity:

Next, in the OnClickListener for the button, we’ll add some code to launch the intent:
startService(new Intent(this, MainService.class));
Simple, right?
Now, let’s say that we want to kill the service. What should we do? Well, we can actually kill the service using another intent with startService. Here’s what we’ll add to the Service:
@Override
public int onStartCommand(Intent intent, int flags, int startId) {
    if (intent.hasExtra("KILL"))
        stopSelf();
    return super.onStartCommand(intent, flags, startId);
}
Then we just put an Extra in the intent in the Activity:
Intent intent = new Intent(this, MainService.class);
intent.putExtra("KILL","");
startService(intent);
If you run that, you’ll see the service getting started then stopped. I added logs to the onStartCommand and onDestroy methods of the service, and here’s what I saw when I clicked the button:
11-04 07:58:23.257 27985-27985/io.ejf.intentexamples I/MainService: starting service
11-04 07:58:23.266 27985-27985/io.ejf.intentexamples I/MainService: stopping service
Check out the code at this point. (git checkout -b step3 step3)
Send a Broadcast
Now, let’s take a look at how to send an intent to a BroadcastReceiver. It’s fairly straightforward, but one little note is that we should add an entry to the AndroidManifest.xml with our intent filter:
<receiver android:name=".MainReceiver" >
    <intent-filter>
        <action android:name="io.ejf.intentexamples" >
        </action>
    </intent-filter>
</receiver>
We need entries for our Services and Activities as well, but when we add an intent-filter it lets the system know what this receiver can handle. (This is our first public API!) Now, we can send a broadcast:
Intent intent = new Intent();
intent.setAction("io.ejf.intentexamples");
sendBroadcast(intent);
I’ve added a log to my receiver, and it seems to work:
11-04 08:28:03.303 25479-25479/io.ejf.intentexamples I/MainReceiver: received broadcast
Check out the code at this point. ( git checkout -b step4 step4 )
Conclusion
That’s it for right now, but you saw a couple of basic things here. We’re now launching an Activity as well as passing some data along. We also now have our first public API! What’s more, our API runs something in the background, and doesn’t bring up another screen. This is an important point that we’ll get into later on. Next, we’ll extend that to start offering something useful.